


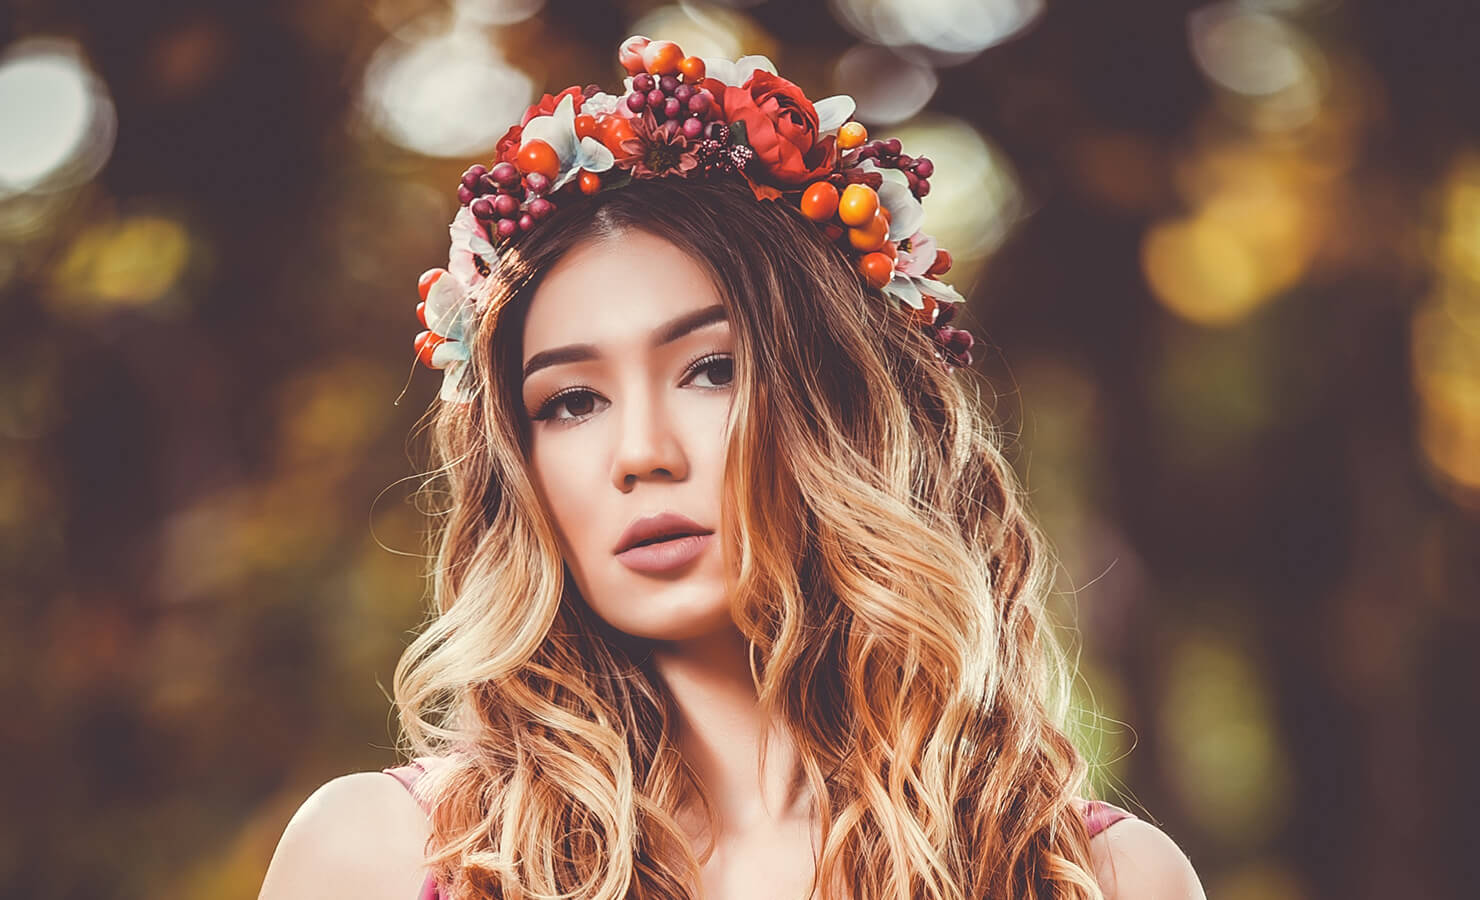
DIY: How to make a gorgeous flower crown in 7 easy steps

Every girl has probably dreamed of being a princess, with elegant glass slippers and flowers in her hair. Vanessa Hudgens of High School Musical fame probably wears the boho-chic princess style best. Flower crowns are elegant, a symbol of grace, and they can be really light, pretty, a piece that’s easy to wear. They just have so much more meaning when you've made them yourself - it's such an accomplishment. You can DIY your flower crowns with your BFFs as a slumber party activity, for example, and take pictures the next day. You could probably do it while watching Netflix - it's really that simple. The best flower crowns are reserved for weddings, flower hairstyles never go out of fashion - it's probably been around since the times of Athens!
Bring out the flower girl in you! Go for bohemian chic with a homemade floral wreath of fresh flowers. You can wear it to a festival, a party or a cosy picnic. Flowers are always a good idea, but a flower crown is even a better one. Who wouldn’t be happy with a beautiful blooming decoration on his or her head? PS: it will definitely complete your outfit. In the next few paragraphs, we’ll tell you how easy it is to steal the show with your gorgeous AF flower crown.
You can keep it simple or take it to the next level and make a remarkable one with a lot of colours and flowers. Make it the way you want it to be, nothing is too crazy! It’s the perfect gift for your BFF, your bridal party, or even your sister. Here's how to make a beautiful flower crown that's worth writing home about!
Step 1: Collect all the necessities for a flower crown.


Before you start making your flower crown, make sure you have a clean space to work with and gather all the necessities. You’ll need a piece of wire to string the flower crown together, wire cutter and a sturdy pair of scissors. Make sure you have some flower tape to cover the wire. Choose a few fresh flowers and leaves you would like to use for your soon-to-be gorgeous creation. You could use glue or wire to stick the flowers to the crown.
Would you like to keep it simple? Use some daisy’s or baby’s breath. Peonies, for example, would make an elaborate flower crown. Feel free to use any flowers that you fancy and go wild with your flower crown ideas.
Step 2: Measure the base of your head.

Take the measuring tape and measure all the way around your head. Make sure that the wire is 2 inches longer than measured. Think about how you want to wear the flower crown. You can wear it in different ways. Would you like to wear the crown around your head or just on top of it. The final measurement makes a difference as to how you wear your flower crown.
Step 3: Cover the wire with some flower tape or ribbon

After you’ve measured out the length of the wire, it’s time to add the flower tape. This is the foundation of your lovely flower crown. By adding some flower tape, the wire will be shielded from view, which is the effect you’re looking for. You are able to choose any flower tape you like. Another idea is to use a silken coloured ribbon. Just make sure you cover the wire however you like! Now this is done, we can go on to the next step.
Step 4: Attach flowers to the wire.

The next step is one we’ve all been waiting for! Attach some flowers to the wire. The best possible way is to put the largest flowers next to each other so there won’t be any gaps. You can add the flowers to the wire you made at step four, with the other smaller pieces of wire. Make sure they are properly secured. You could even use some glue to make sure the flowers wouldn’t come off too easily. Just one drop of a strong glue would do.
Which flowers would work best for a flower crown? Here are some examples that may inspire you to create your own work of art. Some flowers you could use are as such - roses, eustoma, chrysanthemums, cotton flowers, carnations, gerberas, matthiola, and sunflowers. Meanwhile, there are so many more flowers, so choose which one you like, or which one suits your outfit best! This is your chance in the spotlight, after all.
Step 5: Continue attaching flowers and accessories.

You’ve already added flower tape and some pretty flowers. Continue attaching these blooms until you’re satisfied. You could even add some pomp and sparkles with accessories such as glitter, beads, brooches or pearls.
If you prefer greenery in your flower crown as the Greek goddesses did, you may add some fresh leaves and shoots to your creation. Don’t worry about the flower crown being too elaborate for anyone else - let it be yours and only you can dictate how beautiful you want it to be.
Step 6: Close any gaps with fillers

Some gaps may easily form between the flowers. These gaps can be easily filled with any leaves, filler plants such as baby’s breath, lavender, wheat or berries. Even adding these fillers to a flower crown with no gaps would make it stand out more! If you don’t know which leaves or berries you could use, here are a few examples that will be perfect for a flower headband. You could use eucalyptus leaves, asparagus leaves, hypericum berries, wheat stalk, rose spray and pink berries.
Step 7: Put on the flower crown to see if it fits.

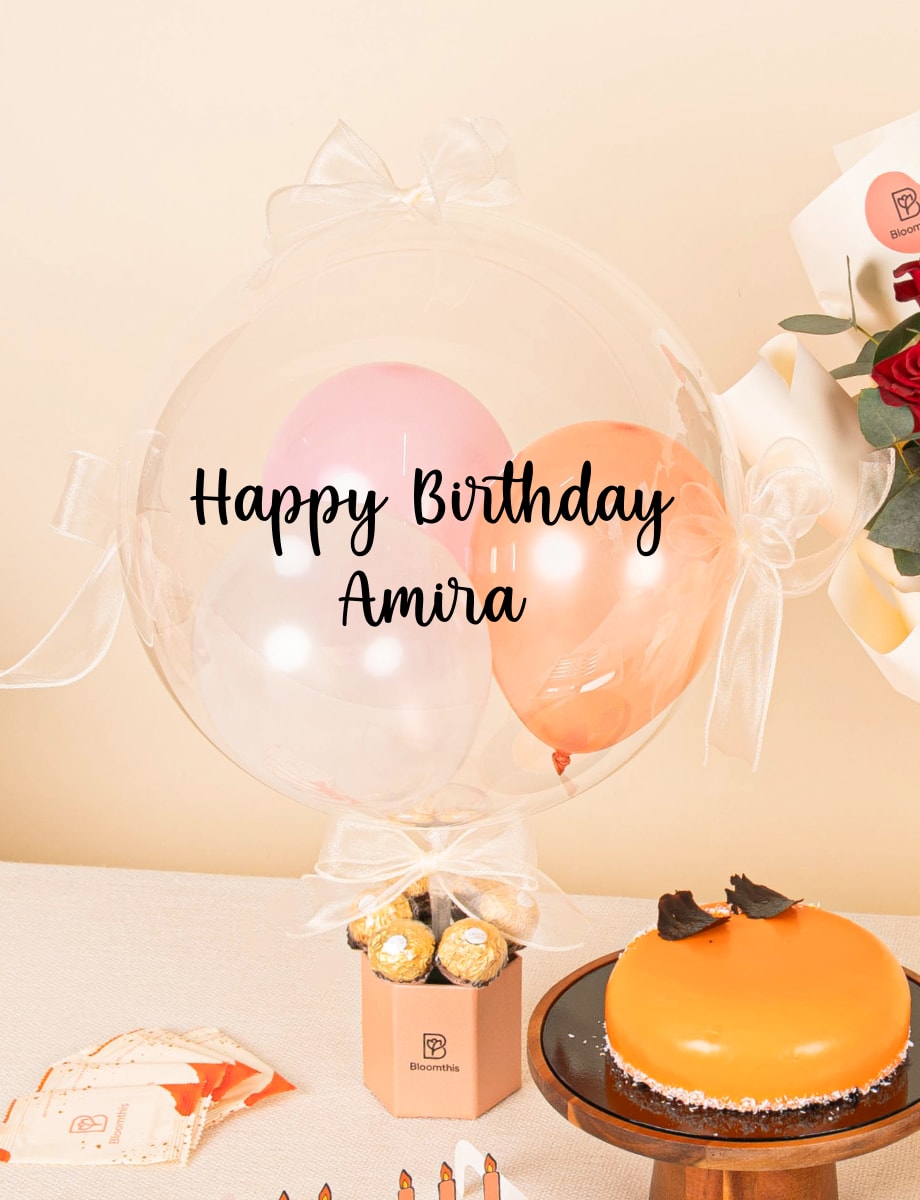
You’re almost there! Put on the flower tiara you made with all your heart to see if it fits. If it does, then good for you! To keep the flower crown looking fresh before the party, place it in an air conditioned room away from the sunlight and spray the fresh flowers with water every other hour. Meanwhile, hold your head high, girl, you’ve made the prettiest flower headband ever! Flower crowns can be worn as accessories at bridal showers, weddings, parties, picnics, and all sorts of occasions. No flower crown is too much for any event - go out there and slay, Greek princess!
PS: If you want a matching flower bracelet, you can make it the same way as you did with the flower crown. Instead of measuring the base of your head, measure your wrist instead!
Want more?
Read more stories
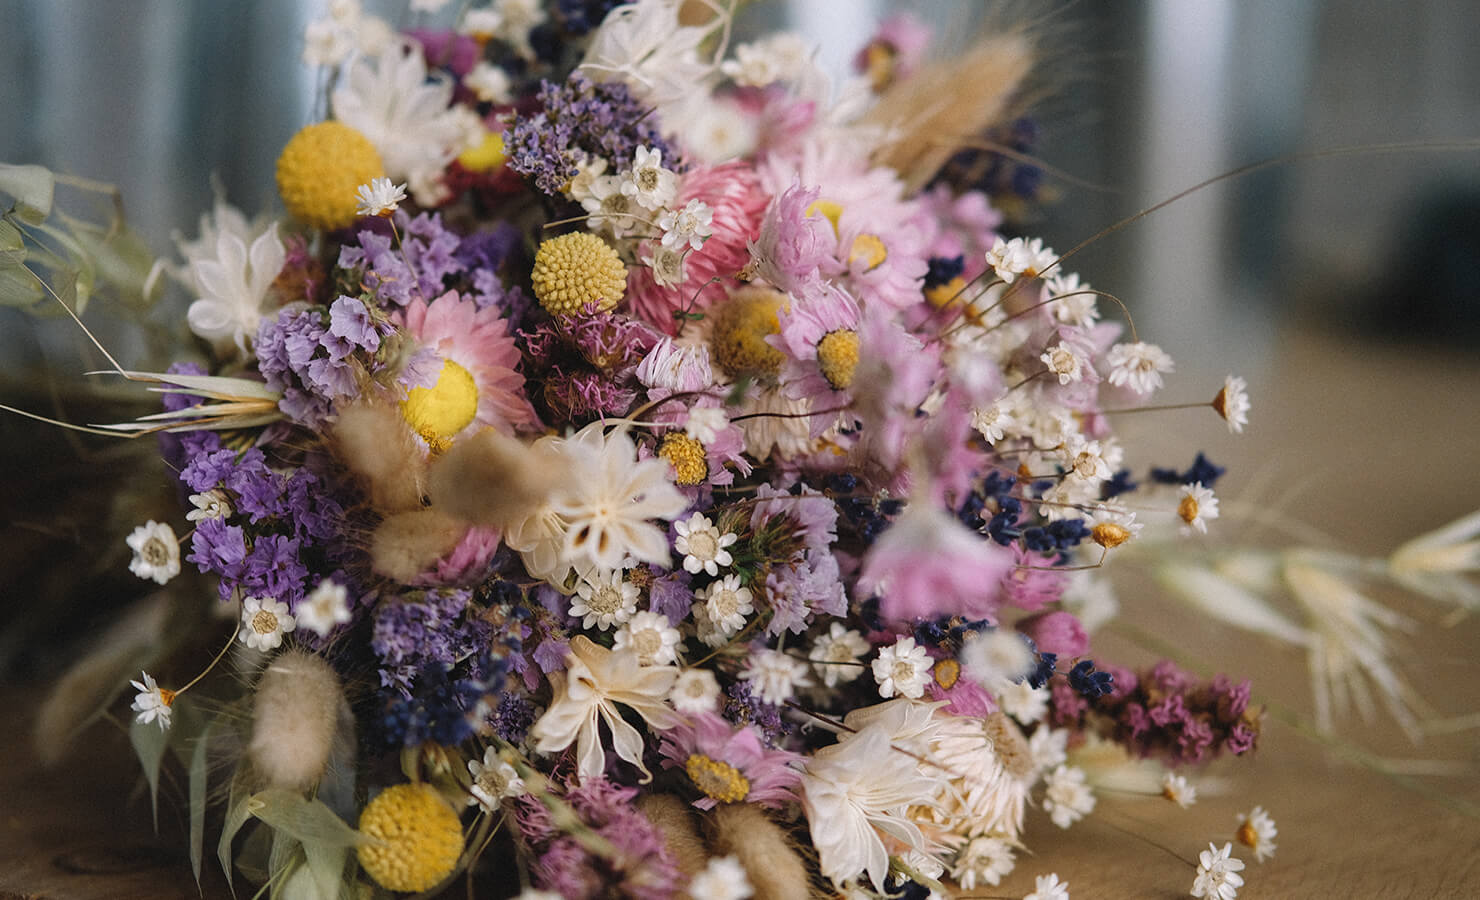
How to make a gorgeous dried flower bouquet in 9 easy steps
NEW IN! Dried flowers have taken the fall trend by storm with their vintage elegance and classic appearance. Welcome the fall season with all things vintage and wonderful! Instead of leaving your f...
Read more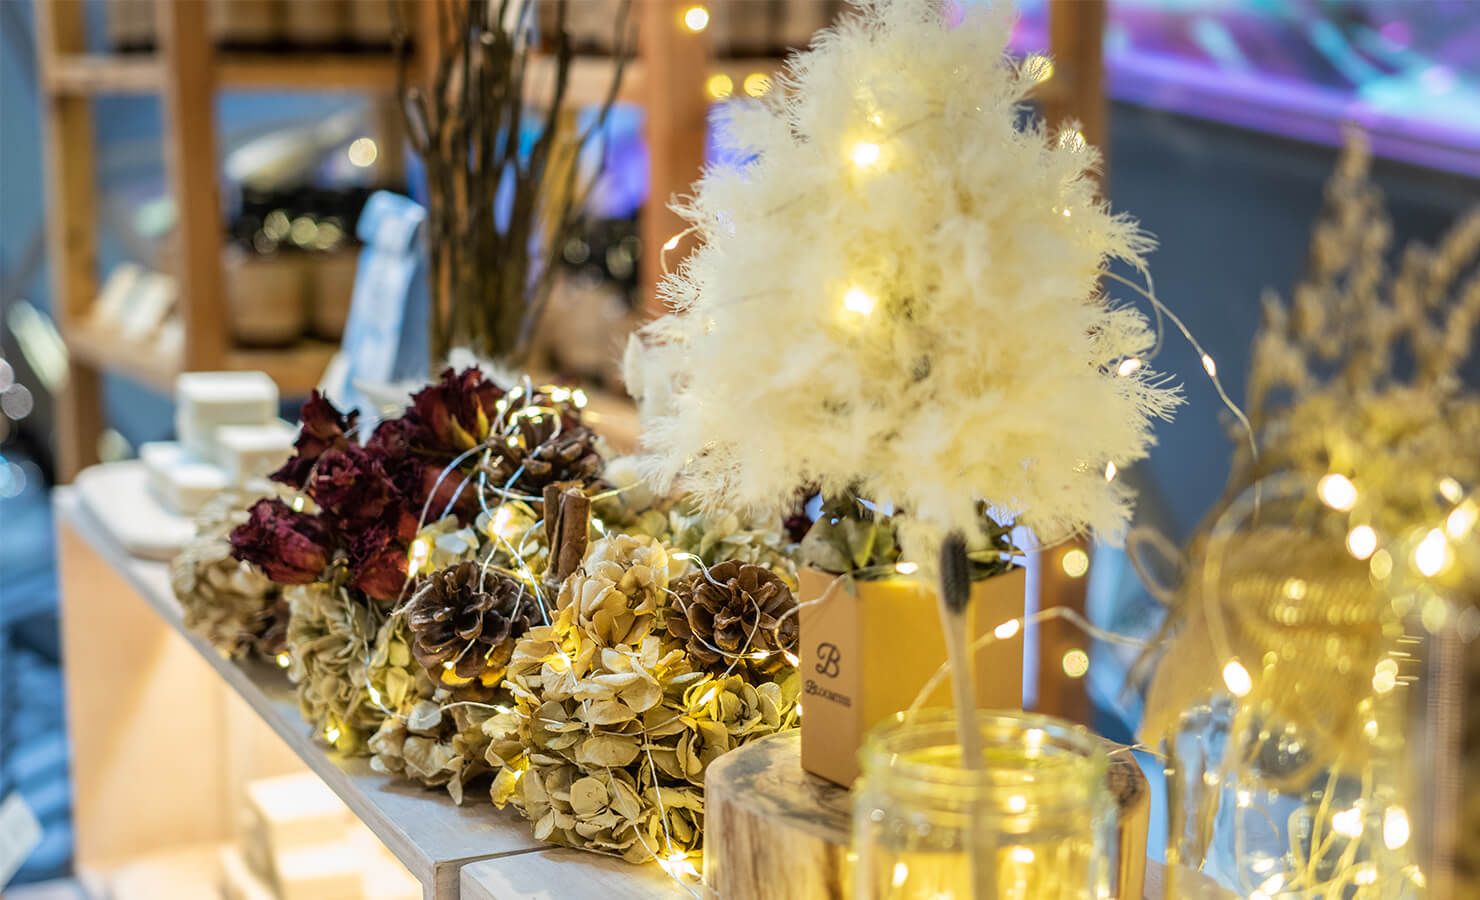
The #ZeroWaste way to decorate your home with flowers
Turn your fresh flowers into dried flower decorations! These preserved flowers will last for months and it's such a sustainable way to decorate your home. String on some fairylights and you home is...
Read moreMake someone's day
Send the perfect gift
active anniversary apology autopilot-all-occasions autopilot-birthday autopilot-friends bestseller birthday bouquet br-trending citibank-cybersales-2018 collection:520-day collection:ace-edventure collection:bestseller-jb collection:bestseller-pg collection:designer-flowers collection:fathers-day collection:girlfriend collection:kakitangan collection:maybank-credit-card-privileges collection:qixi collection:red-rose-day collection:retail-kpj-dsh2 collection:teachers-day Colour_Red congrats custom-collection designer-jb designer-kl designer-pg Flower_Rose forhim friendship home-featured iwd2018 just-because KL love promo-uob-top proposal random resort-bestsellers rose thank-you Type_Bouquet vibrant


active apology birthday br-trending collection:520-day collection:girlfriend collection:pink-day collection:teachers-day congrats friendship love resort-bestsellers thank-you Type_Hat Box


active apology birthday br-trending collection:520-day collection:7-7-sale collection:girlfriend collection:pink-day congrats friendship love resort-bestsellers thank-you Type_Bouquet varpromo:SEVEN5
5% OFF


5% OFF | Use code SEVEN5


active anniversary apology birthday bouquet br-trending collection:520-day collection:ace-edventure collection:fathers-day collection:girlfriend collection:graduation collection:kakitangan collection:pink-day collection:pink-october collection:qixi collection:tag-pinkday collection:teachers-day Colour_Pink Flower_Carnation Flower_Gerbera Flower_Rose friendship just-because love resort-bestsellers self-love temp-oos-15-16-feb-2025 thank-you Type_Bouquet varpromo:ACE15 varpromo:PINK10


active bouquet br-trending collection:fathers-day collection:graduation collection:kakitangan collection:pink-day collection:pink-october collection:tag-pinkday collection:teachers-day Colour_ Colour_Pink Flower_Alstroemeria Flower_Carnation Flower_Lily friendship get-well NINE10 resort-bestsellers temp:price-increase thank-you Type_Bouquet varpromo:PINK10


active anniversary birthday br-trending collection:ace-edventure collection:bestseller-jb collection:designer-flowers collection:fathers-day collection:graduation collection:kakitangan collection:mooncake-festival collection:pink-day collection:pink-october collection:qixi collection:tag-pinkday collection:teachers-day Colour_Pink designer-jb designer-kl designer-pg Flower_Alstroemeria Flower_Rose friendship get-well hat-box KL love m-hat-box resort-bestsellers temp:price-increase thank-you Type_Hat Box varpromo:ACE15 varpromo:PINK10


active apology birthday br-trending collection:520-day collection:girlfriend collection:pink-day congrats friendship love resort-bestsellers thank-you Type_Bouquet


active anniversary badge:florists-pick birthday bouquet br-trending collection:ccspromo collection:celebration-sale collection:graduation collection:kakitangan collection:mooncake-festival collection:qixi collection:tag-pinkday Flower_Carnation Flower_Hydrangea Flower_Rose friendship love resort-bestsellers temp:price-increase thank-you Type_Bouquet


Leave a comment
This site is protected by hCaptcha and the hCaptcha Privacy Policy and Terms of Service apply.