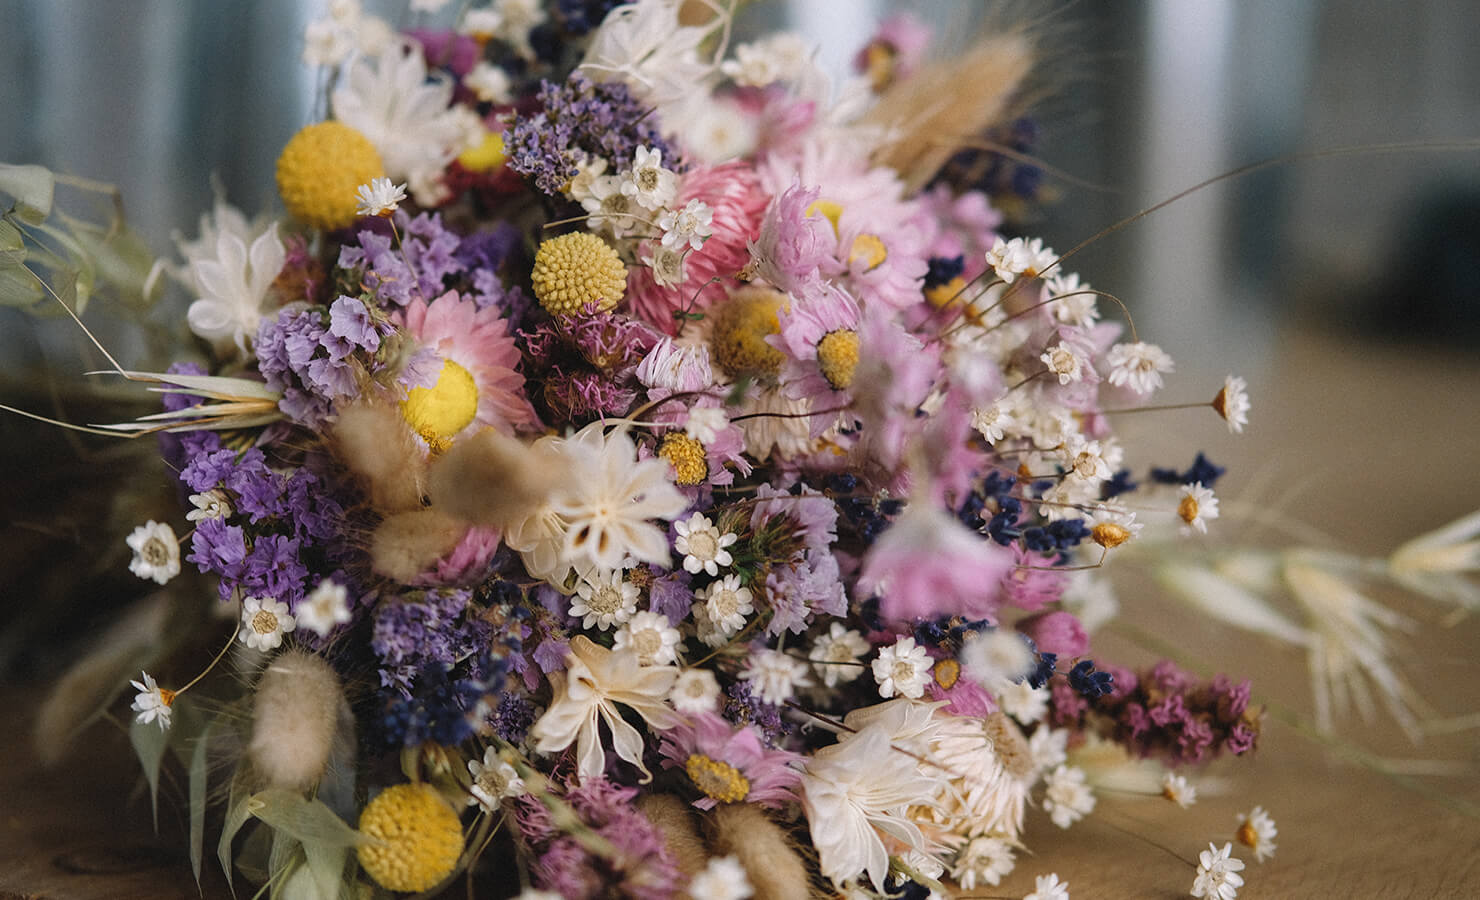
How to make a gorgeous dried flower bouquet in 9 easy steps
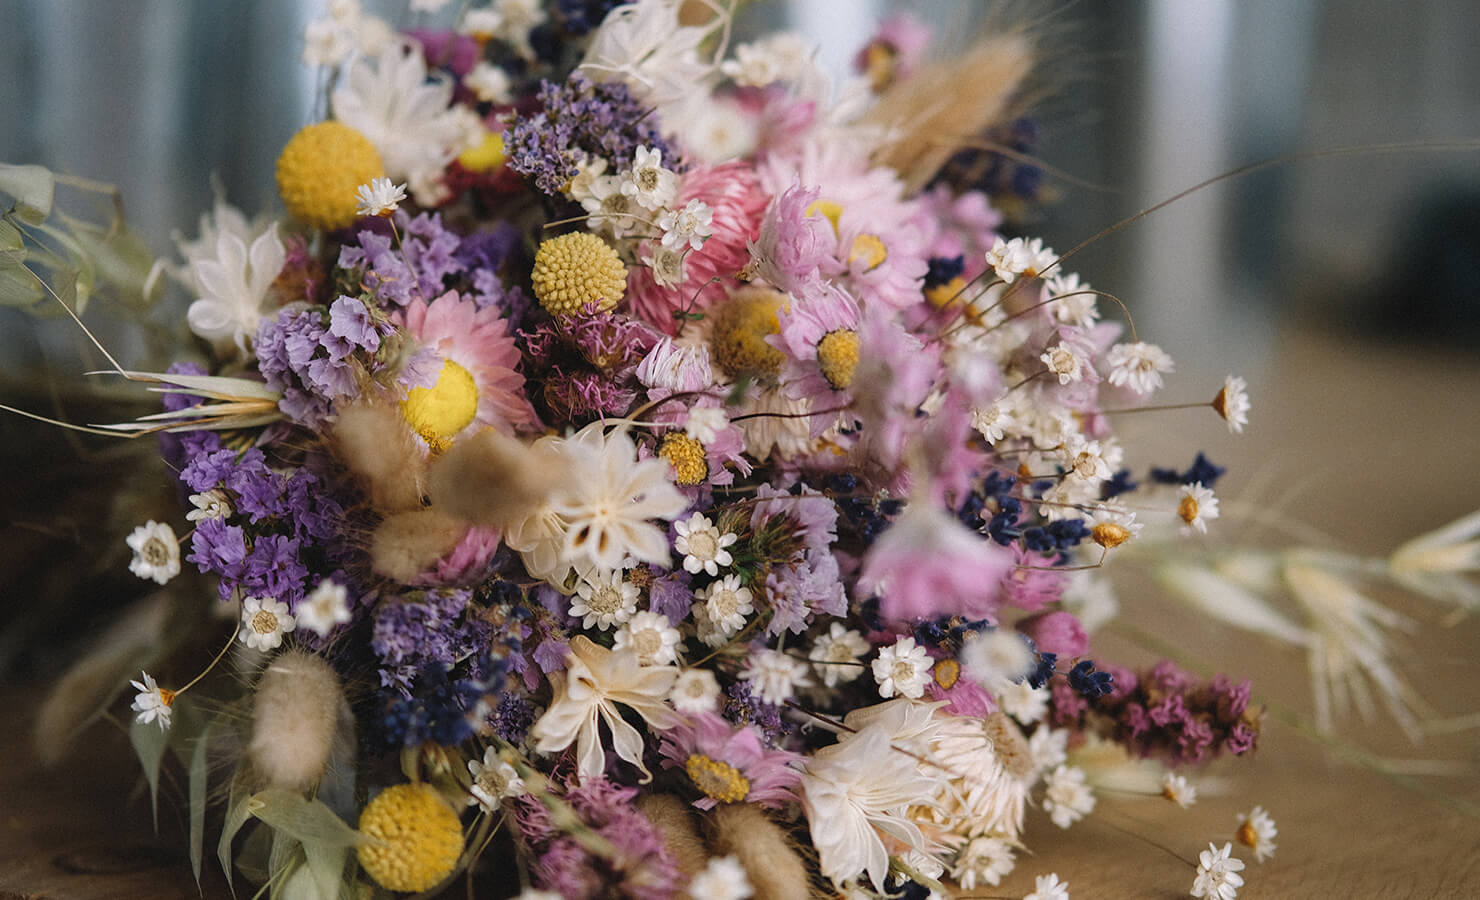
NEW IN! Dried flowers are ushering in the fall season with their vintage elegance and classic appearance. Welcome autumn with all things vintage and wonderful! Instead of leaving your fresh flower bouquet to wilt after a few days, why not turn it into a gorgeous, Instagram-worthy dried flower arrangement? Often seen in the pages of Kinfolk magazines and Tumblr-inspired Instagram accounts, dried flowers are here to fulfill our bohemian floral needs.
Contrary to popular belief, dried flowers are completely different from dead flowers or wilted flowers. Sure, they may not be freshly handpicked from the flower farm, but here are a few steps you can take to preserve your flowers’ beauty for an even longer time. Take advantage of the pretty bouquet and turn your fresh flowers into a sentimental keepsake as you let them dry into vintage art. Preserved flowers can be made into a keepsake from a wedding, a memory from the first time you received a flower bouquet and a heartfelt expression of appreciation. They make such lovely floral decoration for your home as well. Imagine a rustic space with a lovely bouquet of dried flowers for your comfortable place.
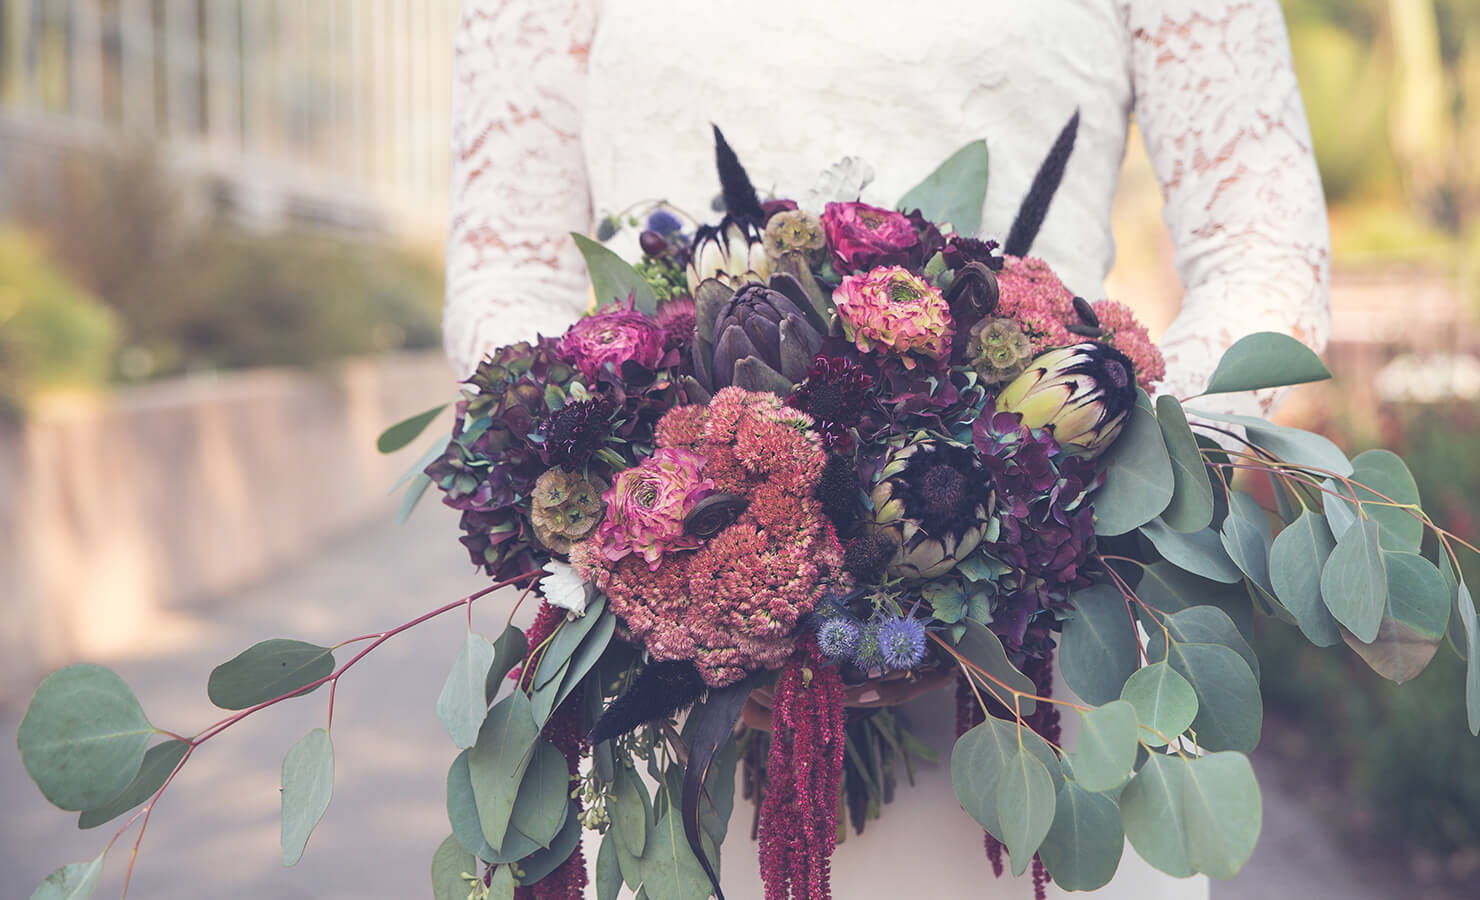
The whole point of drying flowers is to remove all moisture from their stems while retaining the shape and beauty of the flowers. We’ve put together nine easy steps, along with some tips and tricks, on how to make your own stunning dried flowers bouquet. Trust us - you can do it too, with these easy dried flower bouquet ideas.
1) Choose the right flowers to make your dried flower bouquet
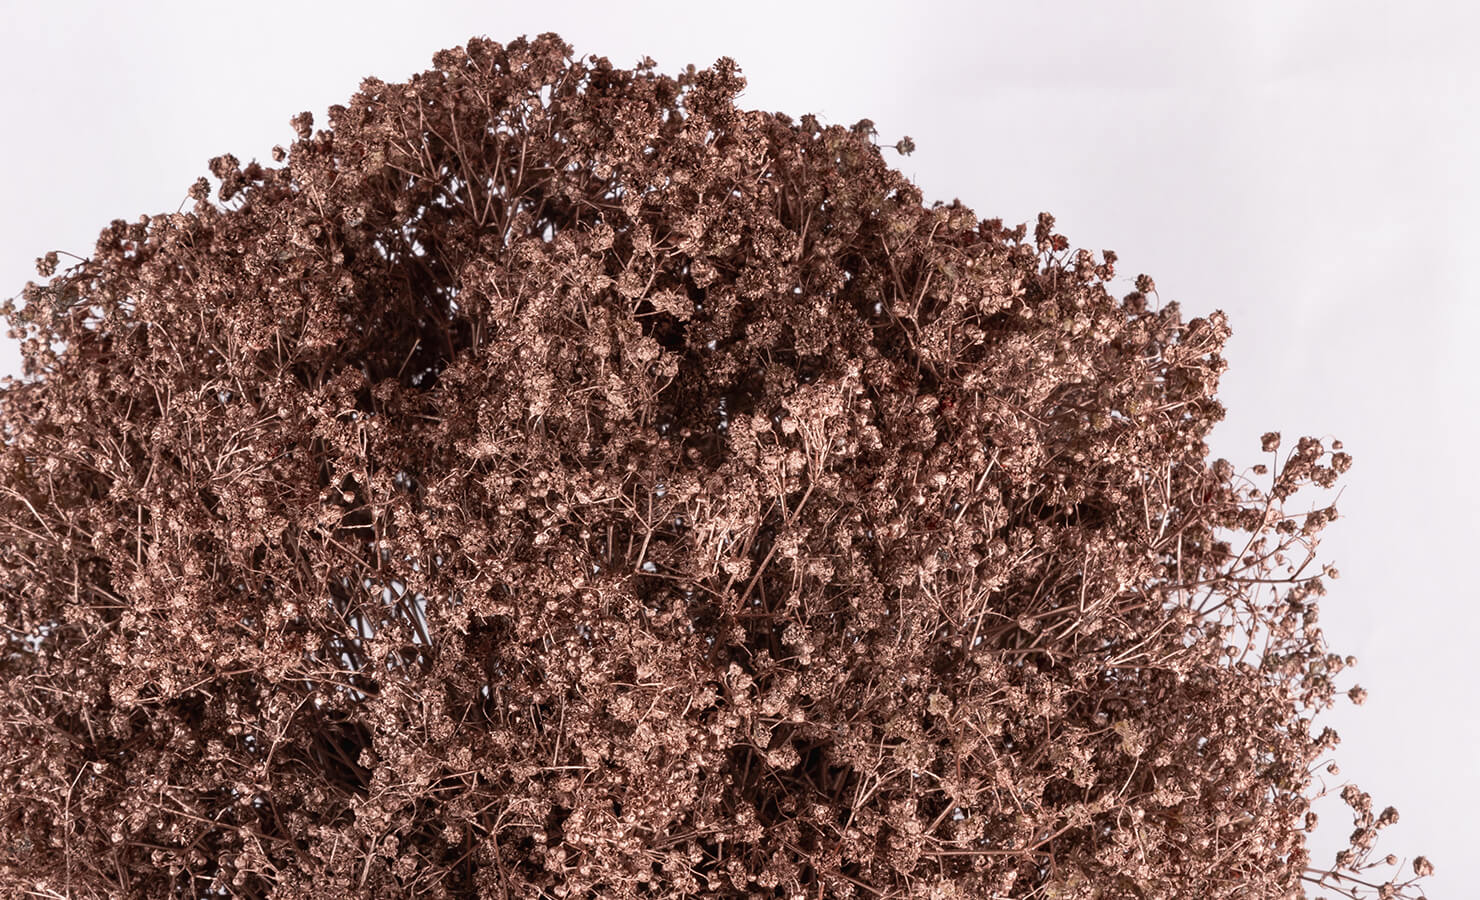
The art of drying flowers helps to preserve the bouquets you were given, and it’s memories as well. Although most flowers can be dried, some flowers are just easier to dry, or dry better than others. Hence, it’s significant to choose the right flowers for your vintage floral bouquet ideas. Florists who work with artisan dried flower bouquets would usually seek for fresh flowers which are almost at full bloom, with the buds just a little shy of opening completely. Avoid using flowers that have matured past their full bloom era for your dried flower arrangement - as these flowers’ petals may fall, and wilted flowers are a big no-no for a stunning dried flower bouquet. Flowers with long, straight stems are ideal candidates for making dried flowers as well. They will be much easier to dry and be tied together (more on that in a bit!).
Flowers with low moisture content are usually easier to dry - such as baby’s breath, hydrangea, celosia, chrysanthemum, rose buds, gomphrena, statice and sunflowers. So you can start to imagine dried baby’s breath, dried roses, dried hydrangeas and dried sunflowers as part of your dry flower decoration ideas already! Dried rose petals work wonderfully too, for a fall-inspired romantic themed dried flower bouquet.
If you’re looking to dry other types of flowers like peonies or carnations, just remember that they have a high moisture content and would need to be handled with care as they’re fragile once dried. It can be done, but you’d have to dry flowers such as peonies or carnations carefully.
2) Remove excess foliage and greenery
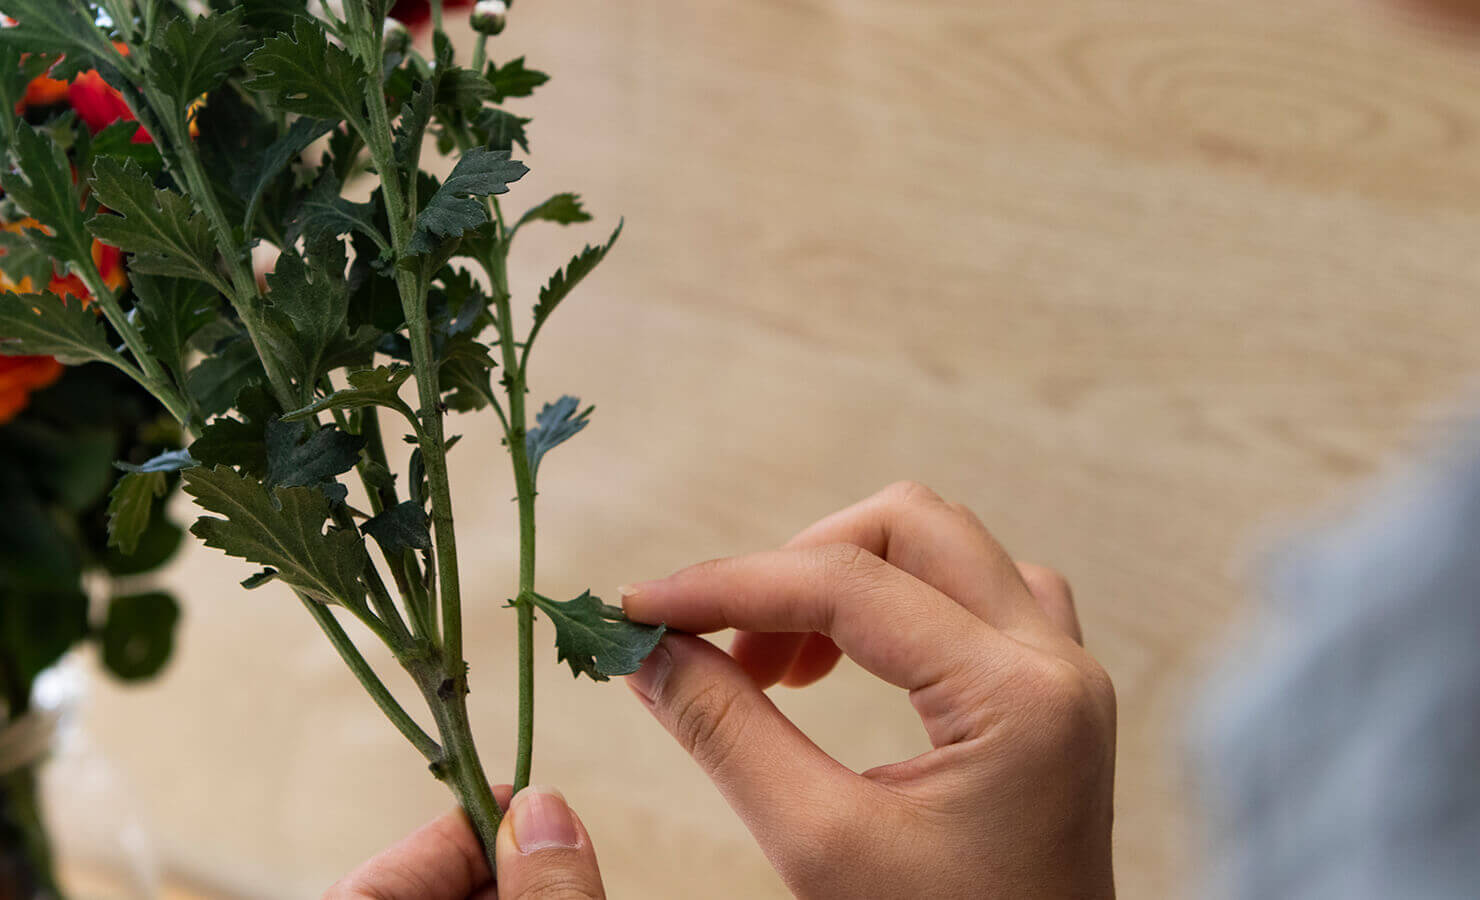
Florists who specialize in rustic flower bouquets would recommend removing excess foliage and greenery from the flowers which one intends to dry. Try to trim all the leaves and thorns as much as you can, but avoid touching the flower petals. If you want the flowers to used for the same vintage flower bouquet, now’s the best time to gently cut their stems to approximately the same length. It’s to ensure that your dried flower bouquet has a balanced look. However, you may make dry grass if you want to include foliage in your dried flower bouquet idea.
3) Gather the flowers into small bunches before you begin the drying process
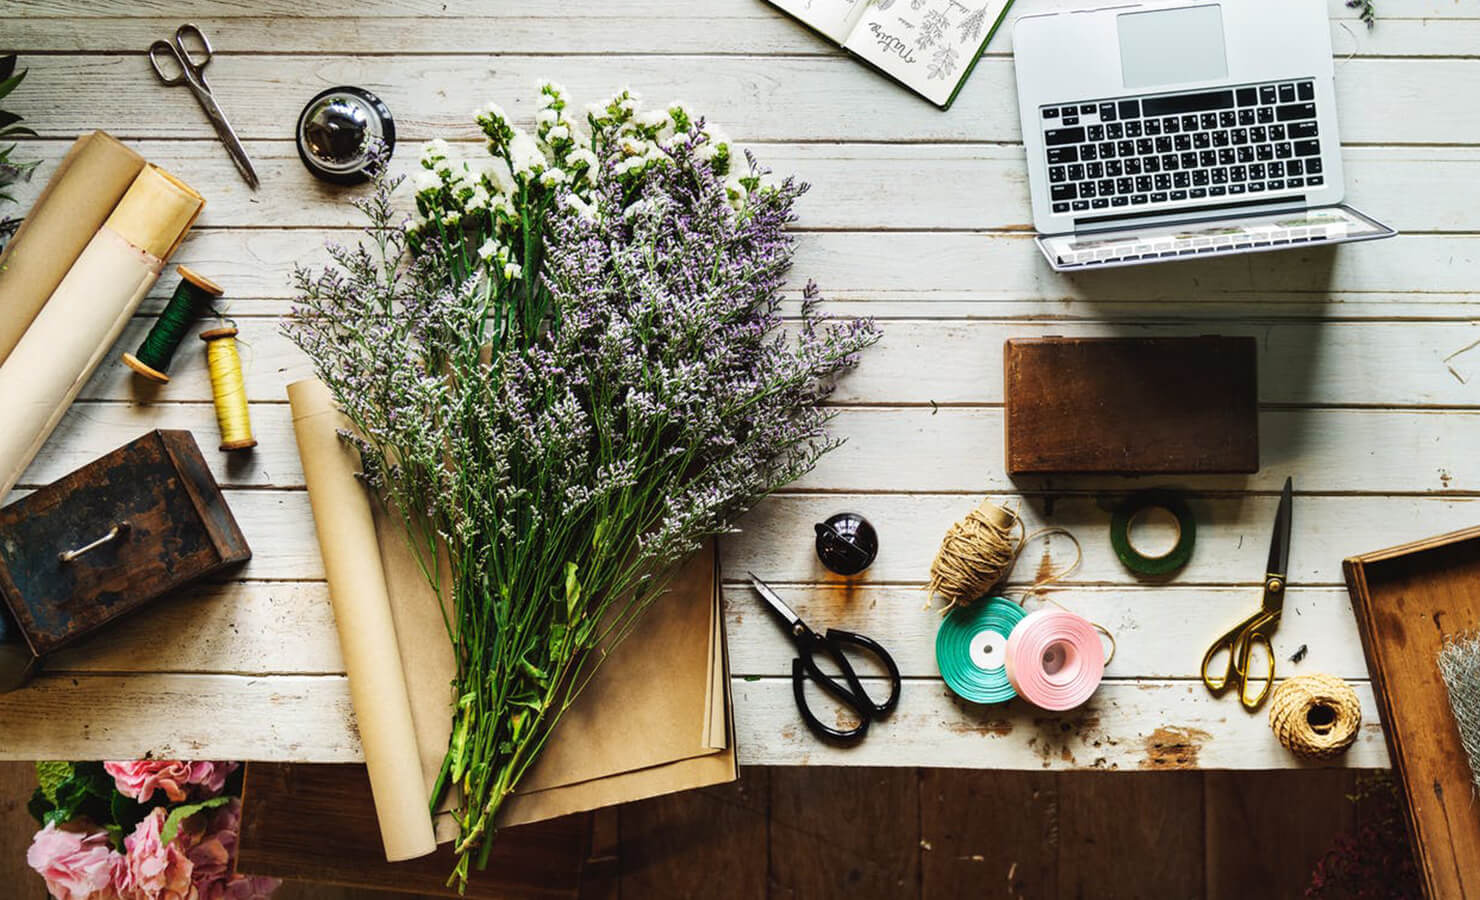
Gather the flowers by each type into small bunches as larger bunches will take a longer time to process and dry, and each type of flower dries differently. For example, dried baby’s breath will process through the drying method faster than dried roses. Dry each flower type separately, away from each other, as the duration of their drying process may vary quite a bit, depending on moisture content and environmental factors.
4) Choose your preferred method on how to dry flowers
There are a few methods when it comes to making sure your flowers dry beautifully. There is no one way when it comes to preserving flowers. We’ve made a list of a few different methods so you can choose the one that suits you best.
a) Leave you flowers to air-dry
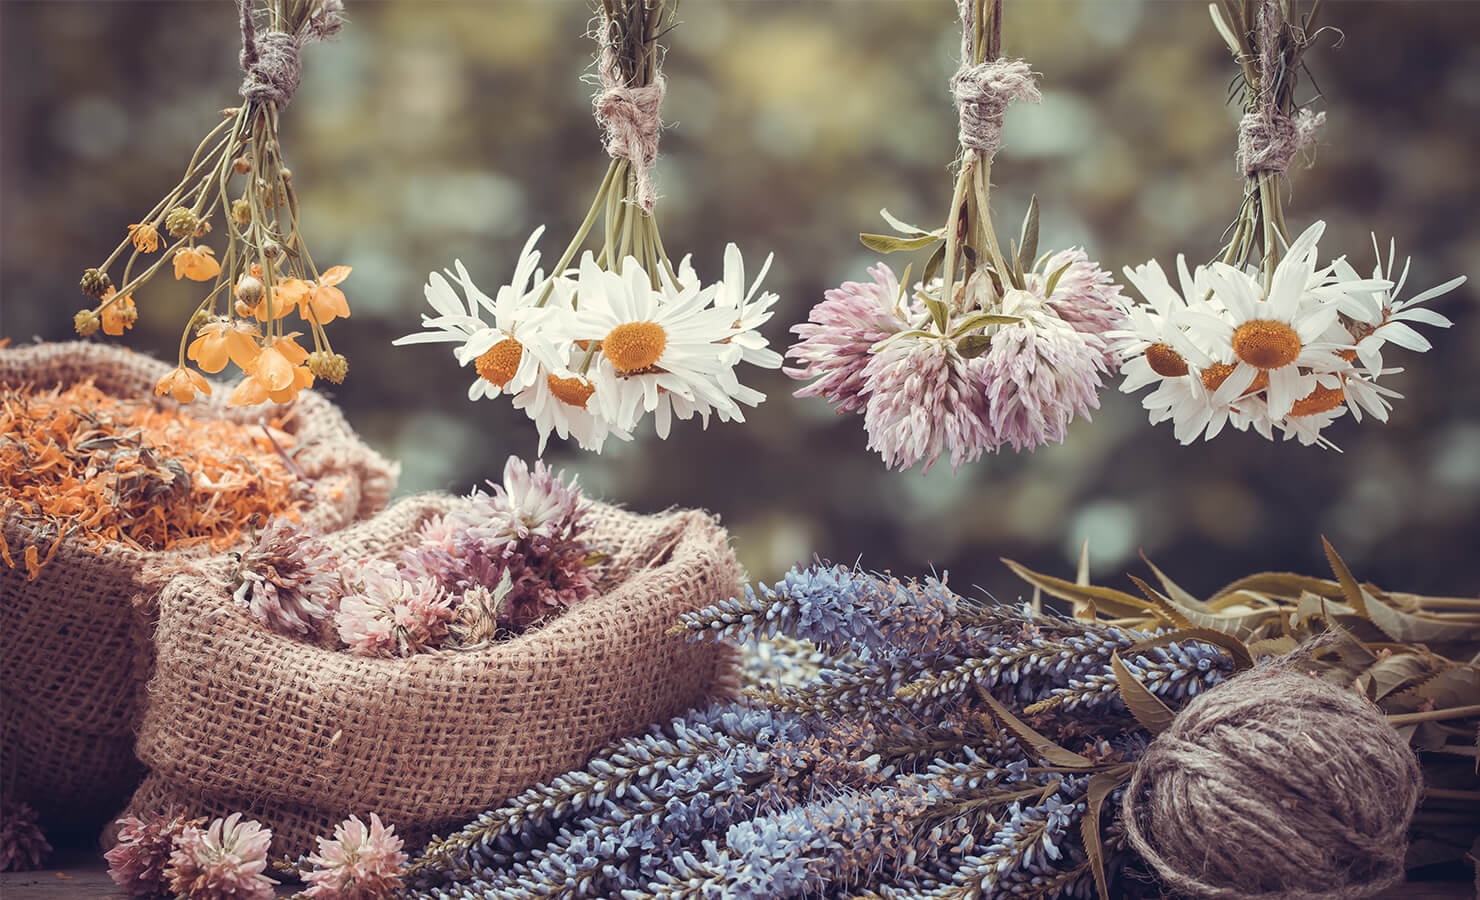
One of the more simple methods is the process of air-drying your flowers. Many flowers can be dried easily by hanging them upside down at a cool, dark and dry place. Avoid places where the sunlight hits as sunlight may cause the flower petals’ colour to fade. Tie the flowers into small bunches with a rubber band or twine and hang them upside-down to dry by any available means, such as florist wire or hooks. Hanging the flowers upside-down will ensure that their stems remain straight even when completely dry. Each flower bundle should be spaced reasonably apart so that the flowers will receive proper ventilation throughout the air-drying process. Allow your flowers to air dry for two or three weeks to dry completely, until their petals seem hardy and crisp.
b) Combine silica gel with fresh flowers
The magic of silica gel is that it can be used to preserve your flowers over, and over again. Silica gel is often used to absorb all the moisture from the flowers, and they can be stored in airtight containers. There’s the gel version and the crystal version for silica gel and both work just as well - it just depends on which type is available to you. The crystals gradually change colours as an indicator of moisture being absorbed. Place silica gel into a microwave safe container together with the flowers that you want to dry. Place the mixture of flowers and silica gel into a microwave oven and begin with the “defrost” setting while tweaking the timer between two to five minutes - you’ll want to experiment with this as different types of flowers have different drying times. It’s good to remember that hardier flowers with thicker petals such as roses will require more time to dry than delicate flowers, such as baby’s breath.
After the dried flowers process has been done, you may remove it from the microwave oven and brush the excess silica gel away from the blooms with a finely-bristled paintbrush or makeup brush. Let the flowers “rest” for 24 hours away from direct sunlight.
c) Use a microwave to dry the flowers
Possibly one of the most fun ways to make beautiful dried flowers! It takes only a few minutes and retains the flowers’ colour quite effortlessly when compared to other methods. It’s also a great alternative if you don’t want to wait weeks for your flowers to dry. The silica gel is optional, but very helpful in the flower drying process. You’ll need to experiment with this as not all flowers are guaranteed to dry prettily in the microwave - such as the more delicate ones with thin stems like hydrangeas and baby’s breath. However, if it works, then it works! You may add a cup of water into the microwave as a precautionary step - the water may absorb some of the microwaves’ radiation and prevent the flowers from accidentally over-drying.
5) Use hairspray to preserve the dried flowers
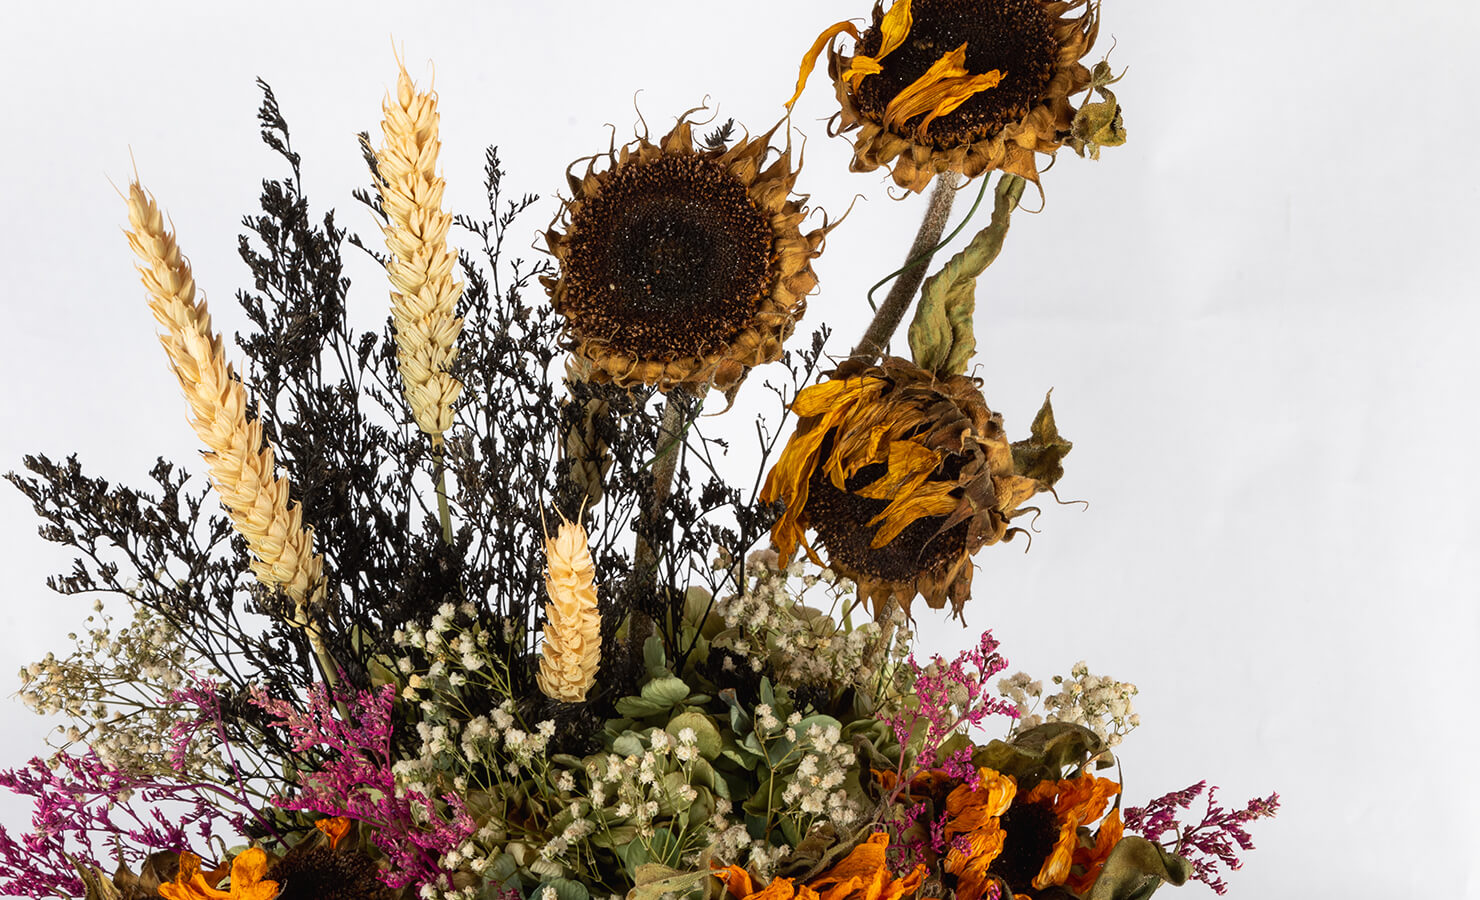
The fun begins! Now that your flowers are properly dry and pretty, you may start to arrange your dried flower bouquet or create your very own gorgeous dried flower arrangement! Try to visualize the vintage flower bouquet of your dreams as you assemble these flowers to curate an IG-worthy arrangement for days. Anyway, let’s begin by taking the little flower bundles apart, if you’ve dried them with the air-drying method. Remove the rubber bands or twine and slowly take the flowers apart, with gentle hands as the dried petals may be prone to breakage. Use hairspray and spray the flowers moderately to keep the flower petals intact. You may also use spray varnish or special flower fixative if they are available, but hairspray does the job just as well!
6) Start with the larger dried flowers

Choose the larger flowers first - and now these will be the base of your vintage dried flower bouquet. Start creating your bouquet with these large flowers, they may be preserved roses, dried hydrangeas or dried sunflowers; whichever are the bigger ones, really. These flowers will be the focal point for your Instagram-worthy rustic flower arrangement. Then, choose the smaller flowers like dried baby’s breath and sprigs of foliage such as dry grass to complement your preserved flower bouquet idea. You may build around a theme, or if you already have a design in mind, just go for it! Flower arrangement is an art, and art itself is quite subjective so it’s all right to try different styles of creating your dried flower bouquets. Artisan florists would recommend to ensure that the dried flowers bouquet which you’ve arranged is 5 to 6 inches in height - but you do you!
7) Stuck on ideas? Find inspiration for your ideal vintage flower bouquet!
You may find inspiration for dried flower arrangement ideas from social media platforms as well, such as Pinterest, Etsy or Instagram. May we never lose our wonder. We’ve compiled a list of different looks for dried flower arrangement ideas which may inspire you, with different types of bouquets and looks too!
a) The classic dried flower bouquet

The classic dried flower bouquet makes a gorgeous statement decoration in your home and on your Instagram feed. To achieve a more vintage springtime look, you may some complimentary posies such as dried baby’s breath, dry grass and dry wheat stalks, to your dried flower bouquet. Use taller stems to add height to your vintage floral arrangement. If you’re looking for vibrancy, these dry flower bouquets can be mixed with fresh flowers too.
b) Dried flower arrangement in a bag
If you’re looking for an arrangement that’s more unique, you may opt to place your flower arrangement in a bag and hang it up in a cosy corner of your home. You don’t have to worry about dried flower petals falling out as these preserved flowers can last up to 7 months if they’re well-taken care of.
c) A terrarium of dried flowers
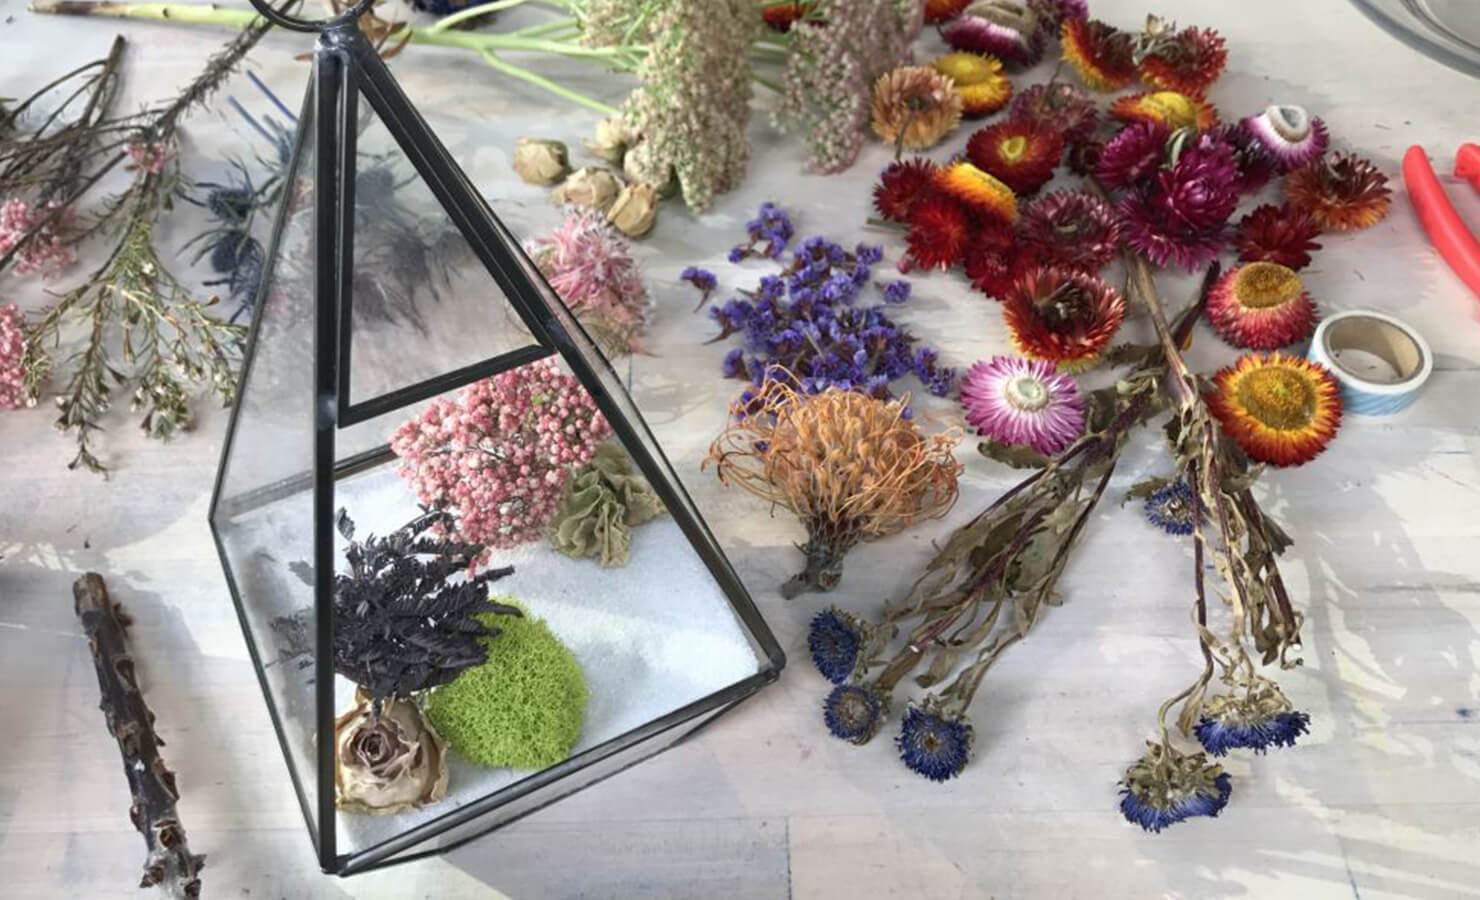
IMAGE SOURCE: CREATIVEBUG
If you have a terrarium jar, you may arrange your dried flowers in the jar and create a stunning flower arrangement that’s tiny and appreciated. Select your preferred terrarium jar and pour in approximately 2cm of coloured sand to make the base of the floral arrangement. Then, you may begin creating your dried flower decor the same way as you started with the bouquet - select the largest flowers and add complimentary foliage or posies to achieve your desired look.
8) Tie the dried flower stems together
Once you have thoughtfully and artistically put your dried flowers arrangement together, you may use a twine to secure the bouquet. Hang them up onto your walls as a Tumblr-worthy dried flower decoration or opt for the classic look, such as placing your bouquet in a glass vase. Use a soft ribbon to tie the stems together too, anything to make your vintage flower arrangement prettier! If you have any leftover flowers from the dried flower arrangement, you may place them safely away and keep them for future crafty projects. You could turn these preserved flowers into mini bouquets too, and send them as gifts to your besties.
9) Scent the vintage flower arrangement with essential oils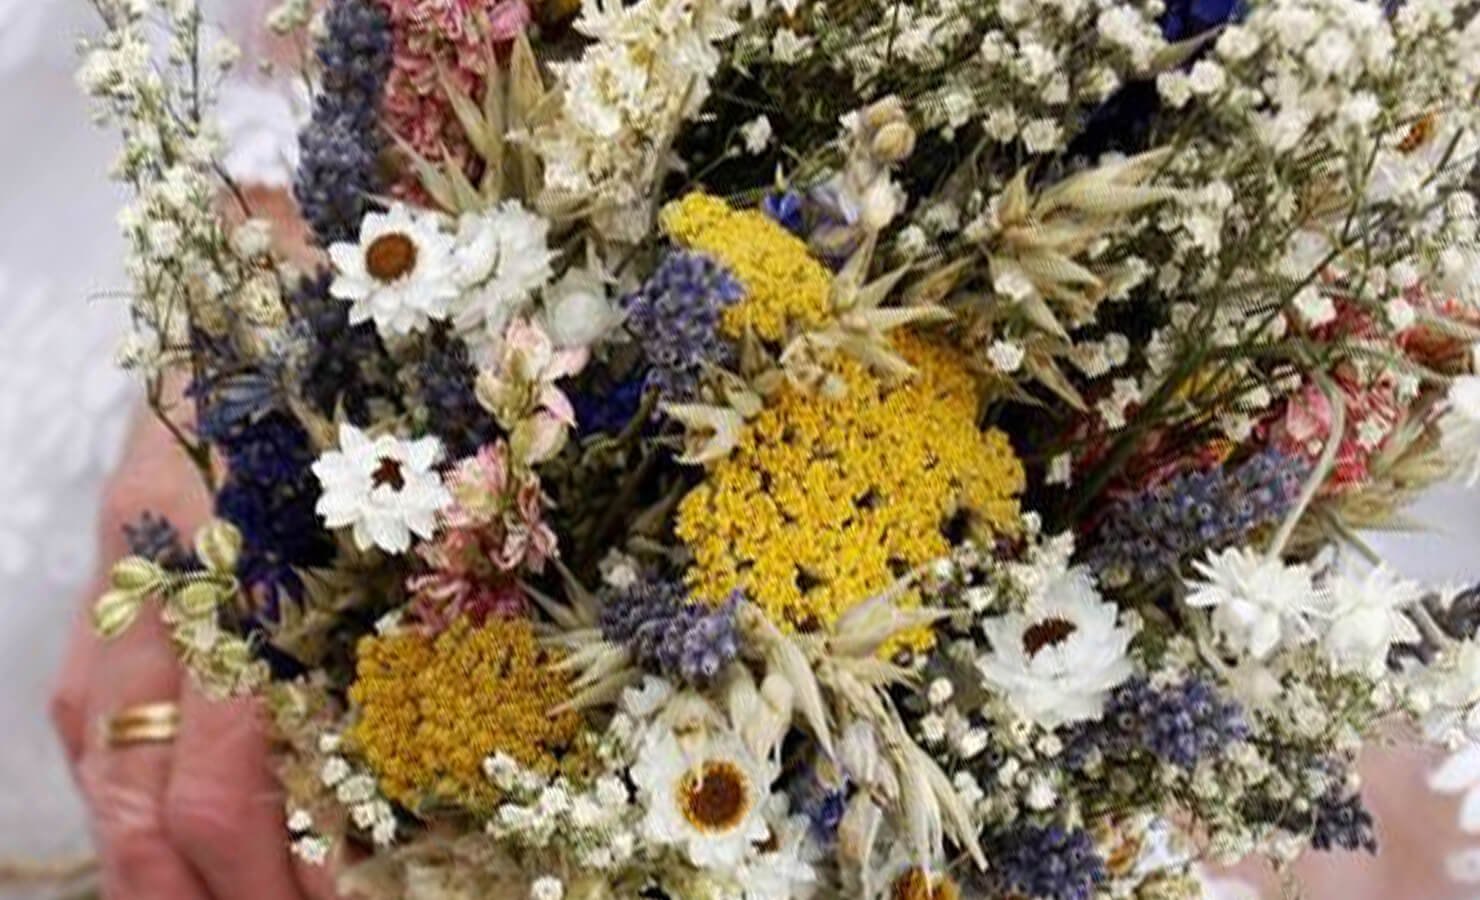
This is optional but who wouldn’t love a dried flower bouquet that smells wonderful as well. A few drops of floral essential oil, such as jasmine and rose, could easily scent a whole dried flower bouquet. After you secure your vintage bouquet masterpiece with ribbons or twine, you may gently add a few drops of essential oil to the dried flowers and stems. Say hello to a home that looks like Instagram heaven and dried flower arrangements that smell as soothing as jasmine oil.
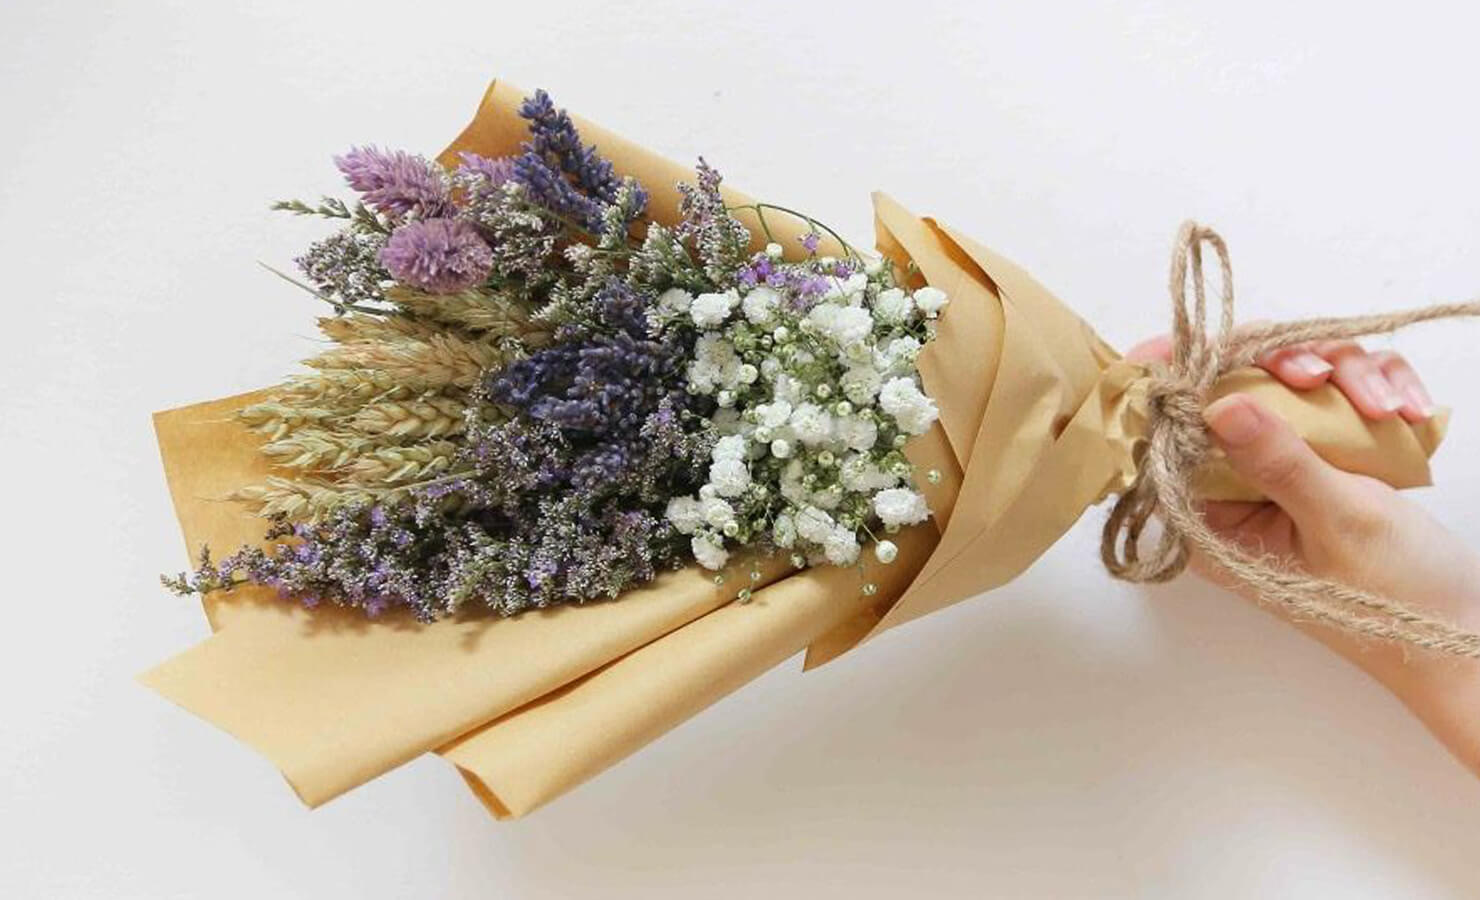
So, these are the nine simple steps to creating your very own Instagram-worthy vintage bouquet of dried flowers. Take your time to preserve your memories and moments by creating a dried flower bouquet from your selection of fresh flowers. Decorate and prettify your home with gorgeous vintage flowers at every corner. The best part is that preserved flowers last so much longer and require very little care - but they look so good. Besides, you may become a dried flower bouquet expert in no time at all! Why search for inspiration when you can become one? Walk hand-in-hand with the latest fall trends and have your home looking like a page from Kinfolk magazine.
Make someone's day
Send the perfect gift


4 comments
Hey Carly! Are you located in Malaysia? If so, you can get your dried flower bouquets ready-made and preserved by our expert florists here: https://bloomthis.co/collections/dried-flowers
If not, you could always head over to your local florists and shop for your fav blooms, then follow our steps above to create your very own dried flowers! Good luck and let us know how it goes ✌️😊
BloomThis
Hi there! These look beautiful! I’m curious if you can buy already dried out flowers and if so where would you shop? Or do you just have to buy a bunch of fresh flowers beforehand and dry them out later? I’m seeing a lot of florists do this nowadays!
Carly Maughan
Hi Lorraine! Happy to hear! Hope your daughter had a wonderful wedding :)
BloomThis
Beautiful arrangements. I’m sending this to my daughter for her wedding. :)
Lorraine T Tafoya
Leave a comment
This site is protected by hCaptcha and the hCaptcha Privacy Policy and Terms of Service apply.