


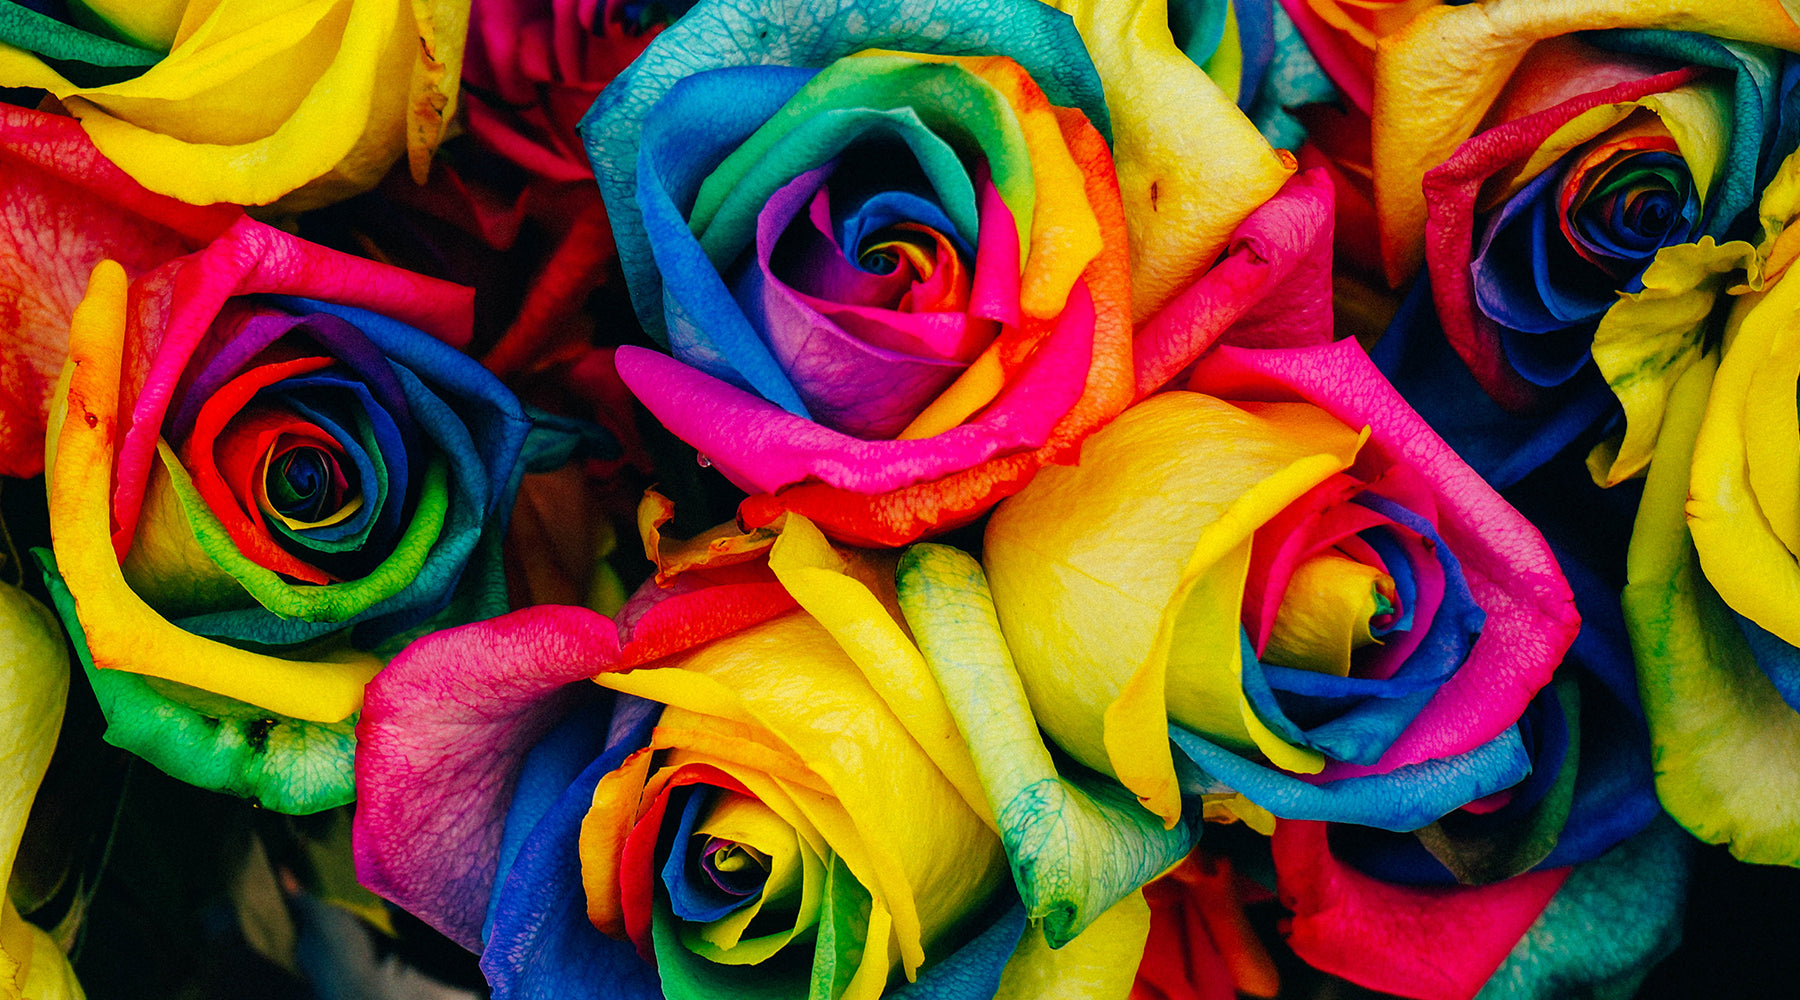
How To Tie-Dye Cut Flowers In 3 Easy Steps
 Image by homefrontmag.com
There isn’t a single doubt on anybody’s mind that flowers are indeed, very beautiful creations. They can make someone’s day, brighten up the environment and have multiple functional uses other than for mere aesthetic purposes, as well.
Though nature works great wonders on its own, it doesn’t hurt to try and enhance the beauty of flowers or preserve their fleeting lifespan just to be able to enjoy them for a little while longer, don’t you agree?
In this case, we’re talking about tie-dye cut flowers! Did you know that professional florists sometimes use dyes to refine the original colour or to even alter the shades of plain flowers? This enables them to create custom orders like colour-coordinating an arrangement.
Not only that, dyes are also often used when drying flowers as the added colourant helps to preserve the intensity of colours during the drying process.
Got a bouquet of blooms lying around that you’re desperately trying to save? Just prepare a pair of plastic gloves, set up your tools, put your creative hat on, and keep reading to learn how to create your very own set of tie-dye flowers that will make unique home decor!
1) Trim the stems

You would need to start off by cutting the stems and getting rid of any large leaves. The ideal length should be between 30cm to 45cm. If you are rushing for time, cut a few more centimetres off as the colour changes more rapidly on a shorter stem.
Using a sharp knife, slit the edge of the stem by 15cm to divide the stem into two sections at the bottom of your flower. Don’t forget that the cut ends will need to be maintained moist as exposure to oxygen will cause it to wilt faster.
2) Add dye
 Image by hellowonderful.co
Prepare a container for every individual colour and fill it up with water that can cover the length of the slit in the stems. Trickle around 20 - 30 drops of dye in each cup and place each part of the stem into them after.
Also, here’s an extra tip: if you’ve got packets of flower food with you, just distribute them equally among the cups.
3) Wait
And, the work is done! The flowers will begin to change colours after a few hours but for a more desired result in achieving a richer shade, just be a little patient and let them rest in the dyed water for up to a day.
So now that you have got your very own proud creation of tie-dye cut flowers, there are several possibilities for what you can do with them. You could always re-gift it to someone, repurpose it for something else like making a card or a bookmark, or even use them as decor to spruce up your home.

Need inspiration? Our personal favourites include framing them up, creating a wreath, pressing them or even going the extra mile of building your own terrarium.
You could also just use the petals and place them in jars or in a clear, transparent bauble and use them as props for your table centrepiece, hang them by your windows or just about anywhere you can think of, really!
Planning to try it out for yourself? Good luck, have fun and don’t forget to tag us @bloomthis and show us your pretty results on Instagram!
Want more?
Read more stories
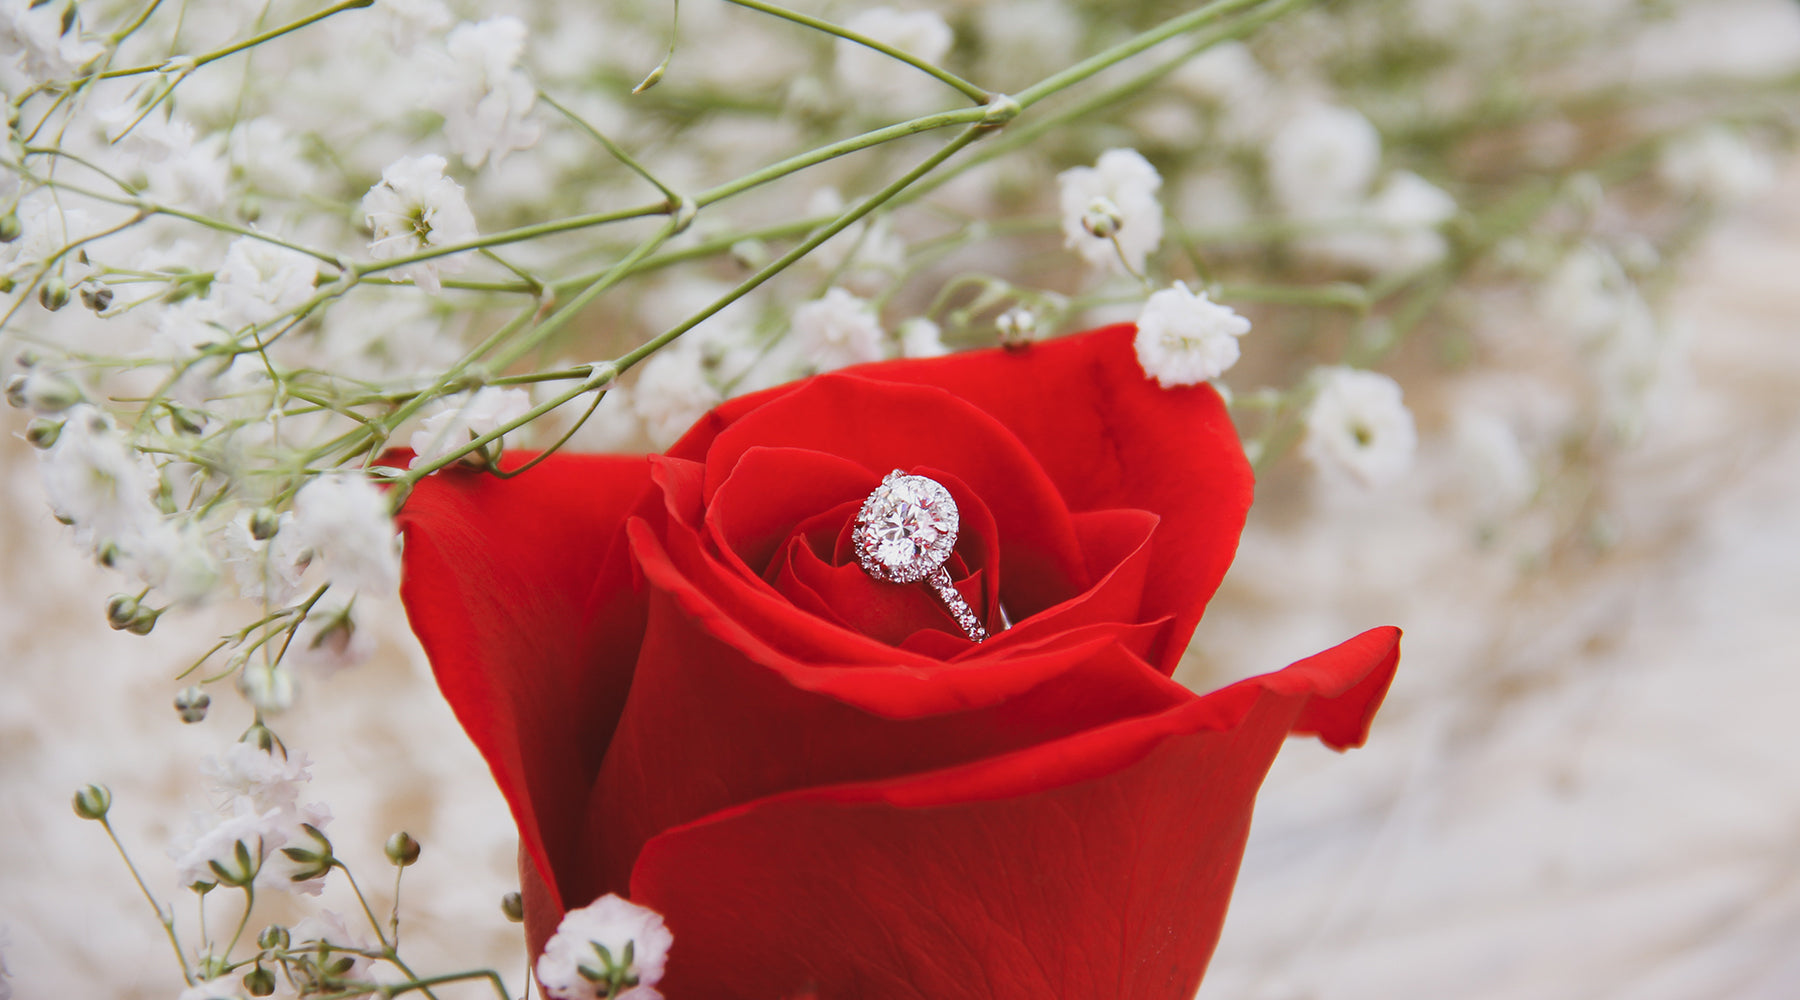
Choosing The Perfect Bouquet for a “Yes, I Do”
A marriage proposal is one of the most important events in a person’s life. Choosing the perfect bouquet can cause a little headache. However, some knowledge in floriography can always help! Here, ...
Read more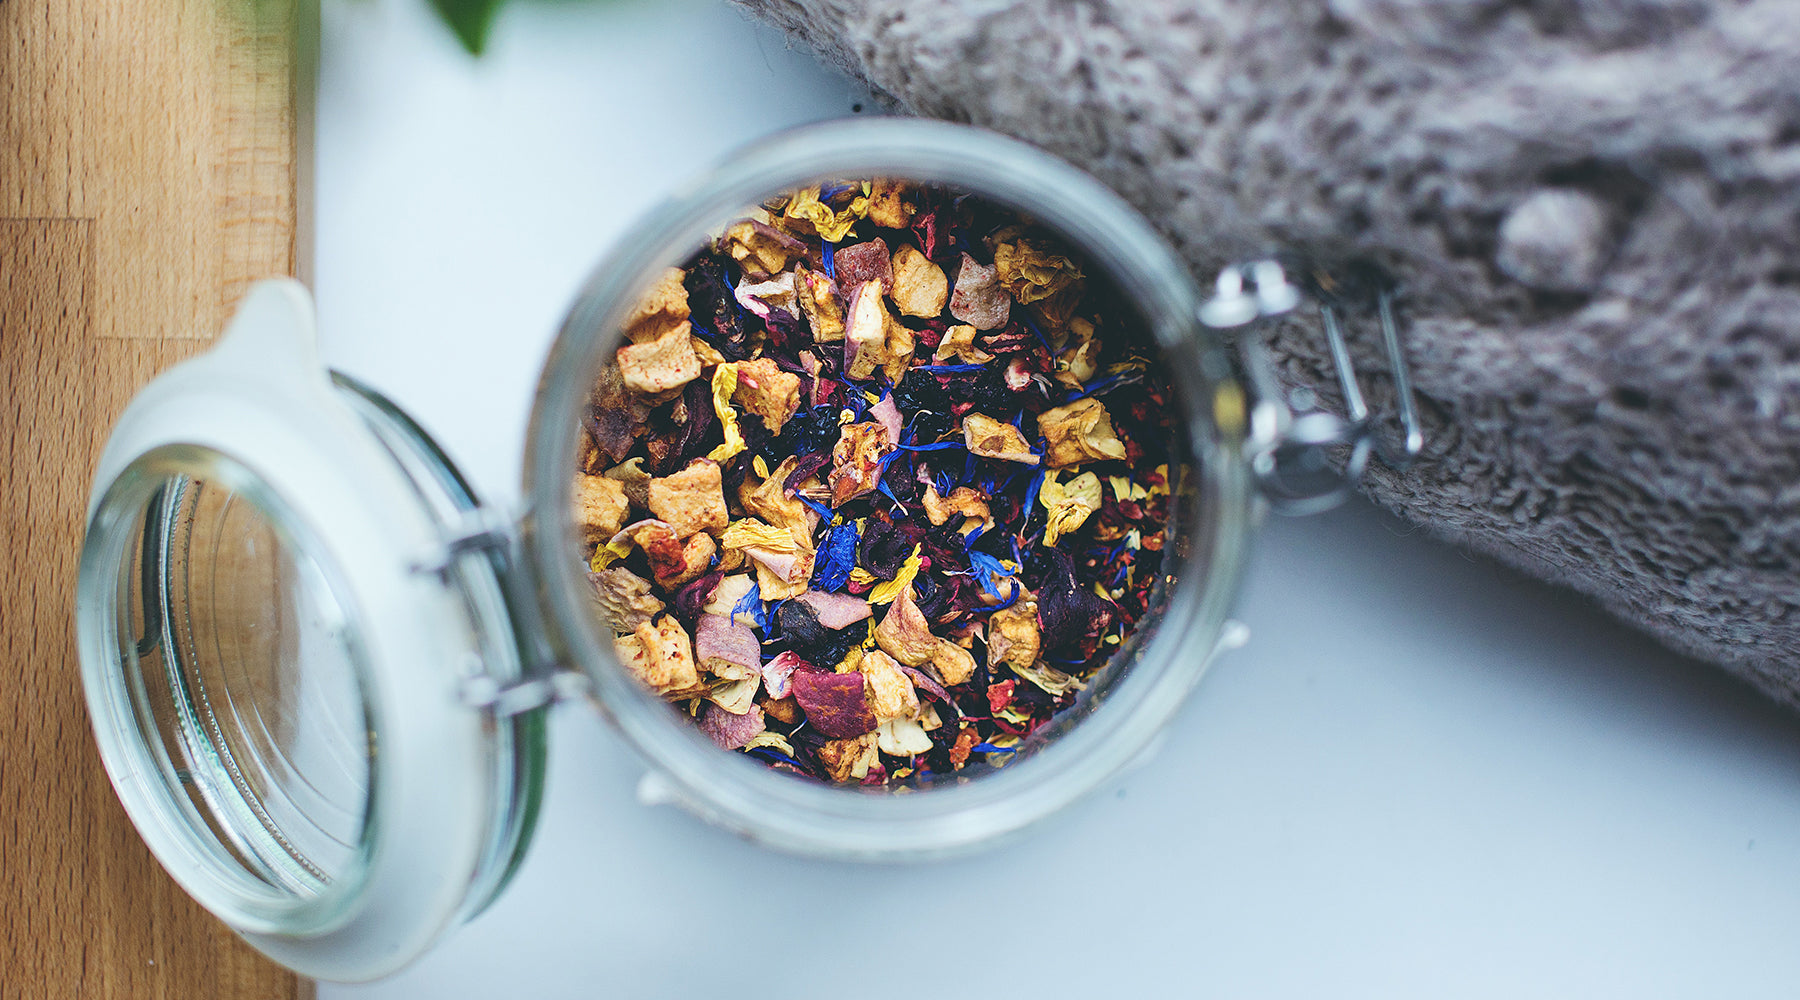
If you're wondering what to do with your old bouquet of flowers, you've come to the right place! Here’s your chance to make what was once old, new again. DIY-ing potpourri has never been easier, pr...
Read moreMake someone's day
Send the perfect gift


Leave a comment
This site is protected by hCaptcha and the hCaptcha Privacy Policy and Terms of Service apply.