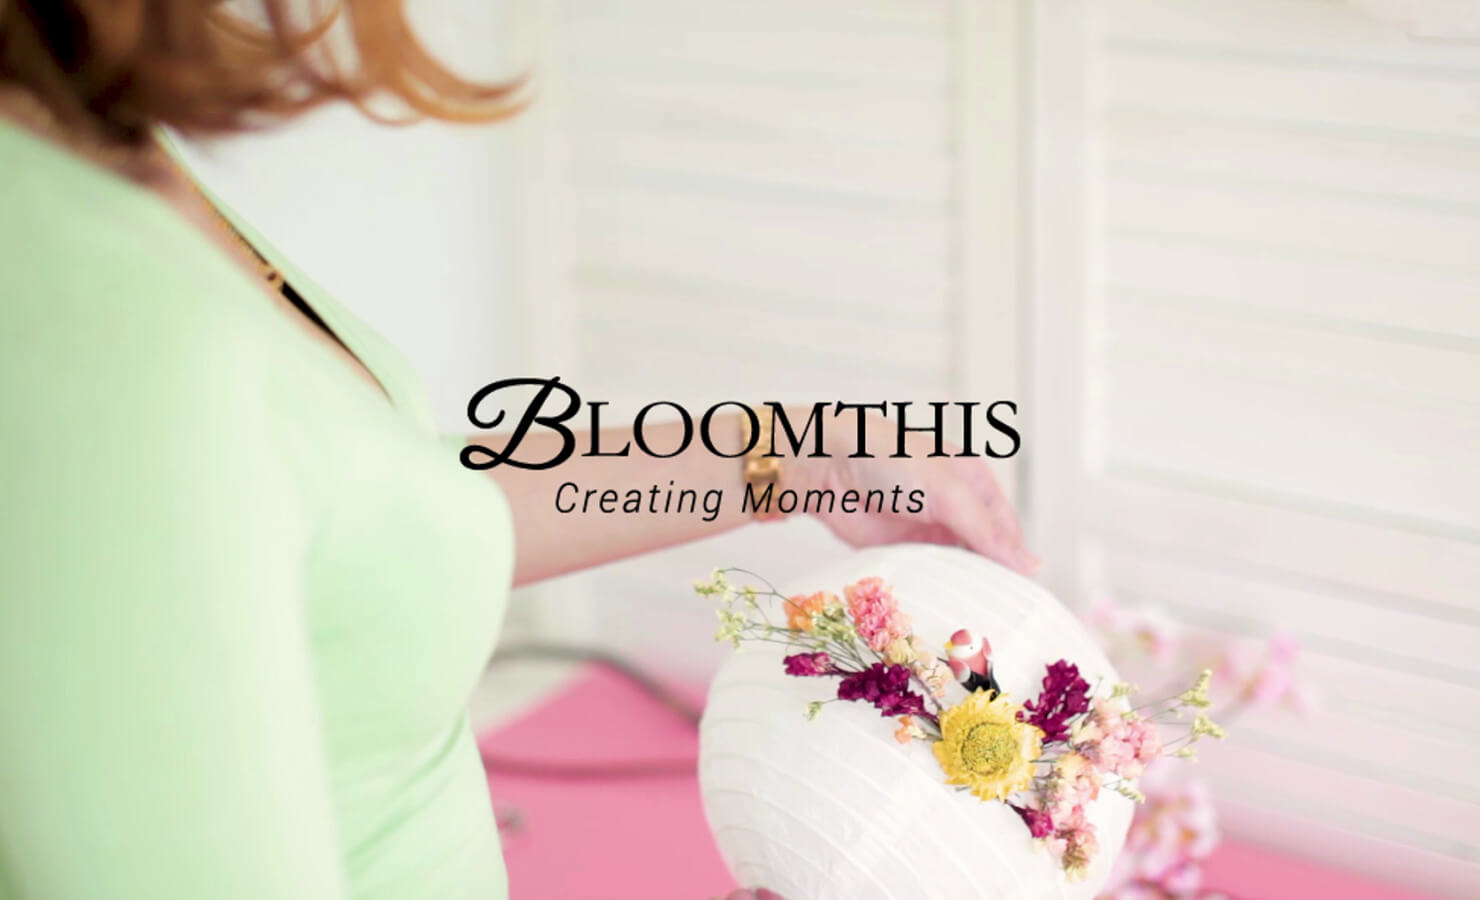
How To Make Your Own Mid-Autumn Festival Lantern (Full DIY Kit Provided)
Miss making DIY lanterns as a kid? Maybe you're tired of hunting for the "perfect" Mid-Autumn Festival Lanterns only to have them disappear in the storeroom later on?
This year, why not put aside the traditional red lanterns or plastic store-bought ones, and make a fun little project out of making one yourself! You're probably thinking - "Well, now I need to hunt for craft supplies." NOPE! With our DIY Lantern Kit, you can easily make your very own personalised lantern in 5 easy steps.
The best part? We're giving it away for FREE with any of our BloomThis mooncakes! Get it now from our Mid-Autumn Festival Collection.
5 Easy Steps To Make your BloomThis DIY Lantern
Or click here to watch our DIY Lantern Kit tutorial video!
Step 1: Prepare materials provided.

In your BloomThis DIY Lantern Kit, you'll find a collection of materials, tools and decorative elements. Avoid scrambling for what you need later on. Keep these neatly arranged to the side so you can easily access them when you need them!
Materials:
- 1x Paper Lantern
- 1x Metal Frame
- 3x Dried Flowers
- 1x Dried Helichrysum
- 1x Bird Figurine
- 1x Glue Bottle
Step 2: Open up the lantern and fasten the metal frame into place.

Once you're ready to begin, pull the paper lantern to open it up. Then take the metal frame and insert it into the lantern, fastening it in place. Note: The two pointy ends are to be fastened into the two holes at the top of the lantern.
Step 3: Lightly apply glue onto the dried flowers.

Use the glue bottle provided to apply a light layer of glue to the stems of the dried flowers. Save the bird figurine and dried helichrysum for later!
Tip: Before applying the glue, first try to visualise where you might want to paste them. This makes arranging the "sticky" flowers later on a lot easier!
Step 4: Have fun arranging them onto the lantern.

Now here comes the fun part! Start arranging them onto the paper lantern however you like and don't worry too much about making it perfect. It may not look the best just yet but trust us when we say it'll all come together once you're done!
Bloomin' Tips!

Don't be afraid to trim the flowers as you see fit. The flowers are dried so it won't hurt them! Just remember to leave a little bit of stem so it's easier to apply glue to it.
Step 5: Add the finishing touch.

You're almost done! Now that you've set the base with your dried flowers, it's time to finish it off with the accent pieces. Apply glue to the bottoms of the bird figurine and the dried helichrysum and arrange them as the focal point of your arrangement. Now sit back and admire your handiwork!
Watch the tutorial video here!
Can't wait to get started on yours?
Get yours for FREE with every purchase of our BloomThis Mooncakes. Same-Day delivery provided!
SHOP MOONCAKES
Make someone's day
Send the perfect gift




Leave a comment
This site is protected by hCaptcha and the hCaptcha Privacy Policy and Terms of Service apply.