


How to DIY Pressed Flowers

Flowers are the loveliest gift that anyone could receive. It is versatile to the point where it could be given on any occasion, be it, weddings, birthdays, or graduation.
While they are beautiful in their freshest form, their colourful blooms tend to last for only a few days or a week. A way to preserve their beauty is to press them and you potentially could keep your most favourite bouquets on display all year round.
If you press them right, not only would you be able to preserve them as a memory, you could also use them to make crafts, gifts, and decorations for your home.
This guide will show you how you can DIY pressed/dried flowers to fully utilise the flowers that you receive.
Cutting Your Flowers

Before pressing or drying the flowers, the important factor is to retain the lovely and natural colours that the flowers have. For flowers that are grown in your garden, cut them before they are fully open.
Once cut, they should be stored in a dry, dark and cool place so the sunlight doesn’t fade their colours. If you can’t press them immediately, you should store them in a Ziplock bag and into the refrigerator.
For drying a bouquet, as soon as you’re done using it, it is best to dry it immediately since the flowers are much likely to be freshly cut for at least a day.
For some flowers like roses, you may want to wait for them to bloom. Leave them in a vase until they have fully bloomed before drying them.
Pressing Your Flowers

Pressing is a great method that doesn’t take up as much room, compared to air drying. But be aware of what kind of paper you're using to press your flowers.
Use printer paper, recycled flat cardboard, unbleached tissue or coffee filters.
Avoid using paper that has textures as it may end up being imprinted on the petals. Unless that's an effect that you're going for!
The following are some methods that you can use for pressing your flowers. Pick the one you're most comfortable with and get cracking!
Book

Materials:
- Flowers
- Heavy book
- Absorbent paper
- Weight
Using a book is the most popular and easiest way to press flowers. You would need to pick a really heavy book such as a dictionary or encyclopaedia. But the moisture in the flowers may cause the pages to wrinkle, so choose a book that you don’t mind damaging.
Directions:
- Begin by preparing your flower. Remove any unwanted leaves and lay flat on parchment paper.
- Open the book and place the paper on the book’s pages. Place the flower between two pieces of paper and place them within the pages of the book. Depending on the size of the book, you can press multiple flowers at once.
- Place more books or other weighty objects on top of the book. Keep in a place that is out of the way and not likely to be knocked into.
- Let the flowers sit for 3-4 weeks. The longer you press the flowers, the less moisture they have. If they don’t have a papery feel, change out the paper and let them sit in the book for longer.
Wooden Flower Press

Photo Credits: Etsy
Materials:
- Flowers
- Flower press
- Absorbent paper
Flower presses are designed specifically to create pressed flowers. They consist of layers of paper held between two stronger boards and are held together by bolts and wingnuts. You can even make your own flower press if you want.
Directions:
- Prepare your flowers by removing any unwanted leaves.
- Unscrew the wingnuts from the bolts. Take the top off the press so that the paper is face up.
- Line the wood with paper. This way you can re-use the press without having to clean it.
- Place your flowers on the absorbent paper. Carefully replace the top. Screw the wingnuts back on and tighten.
- Let sit for three to four weeks. To prevent browning, replace the paper a few times. Once they are completely dry, the flowers can be removed and be used.
Iron

Photo Credits: Better Homes & Gardens
Materials:
- Flowers
- Paper
- Iron
- Heavy book
Using the iron, it is a way to speed up the process of drying as you will be applying heat to the flower as well.
Directions:
- Place your flowers between two pieces of paper. Place a heavy book on top to flatten the flowers and make them easier to iron.
- Turn your iron on low. Make sure you don’t use any water or steam features. This is so that no moisture gets to the flowers.
- Once the iron is warm, remove the book. Move the paper and flowers to an ironing board.
- Press the iron on the paper for about 15 seconds. Remove until the paper is cool again (about 15 more seconds). Repeat this process until the flower is stiff and dried. Set it aside to cool before using it for decorations.
Microwave

Materials:
- Flowers
- Plate/book
- Paper
Like the flower presses, there is also a microwave press. The difference is there is no metal so that they can be heated in the microwave. Like the iron, the process of drying is sped up in a matter of minutes rather than days.
This press can either be made or bought. But the DIY ones can be done with common items that can be found at your home!
Directions:
- Place your flowers face down on a piece of paper. Place another piece of paper on top of the flowers.
- Put the parchment paper and flowers on your microwave tray. Place the plate or book on top.
- Turn the microwave on low for thirty seconds to a minute. Check the results and then repeat until you are satisfied with how dry the flower is. However, if you are using a book, be sure to swap out the book for another to prevent overheating of the book.
- Complete the drying process by using the book or wooden flower press methods. It should be fully dried within two days.
Pressed flowers can be used in many ways. From botanical prints to crafting cards, they add a unique touch to whatever they are included in.
Try adding pressed flowers to a thank you gift to show the recipient how grateful you are. You could even make a pressed flower arrangement, frame it up and give it to a friend as a housewarming gift.
Besides gifts, you can also make these pressed flowers for yourself, as a way to preserve sentimental flowers and keep them in your collection.
Happy DIY-ing and tag us on Instagram when you press your BloomThis flowers by using any of the listed methods!
Want more?
Read more stories
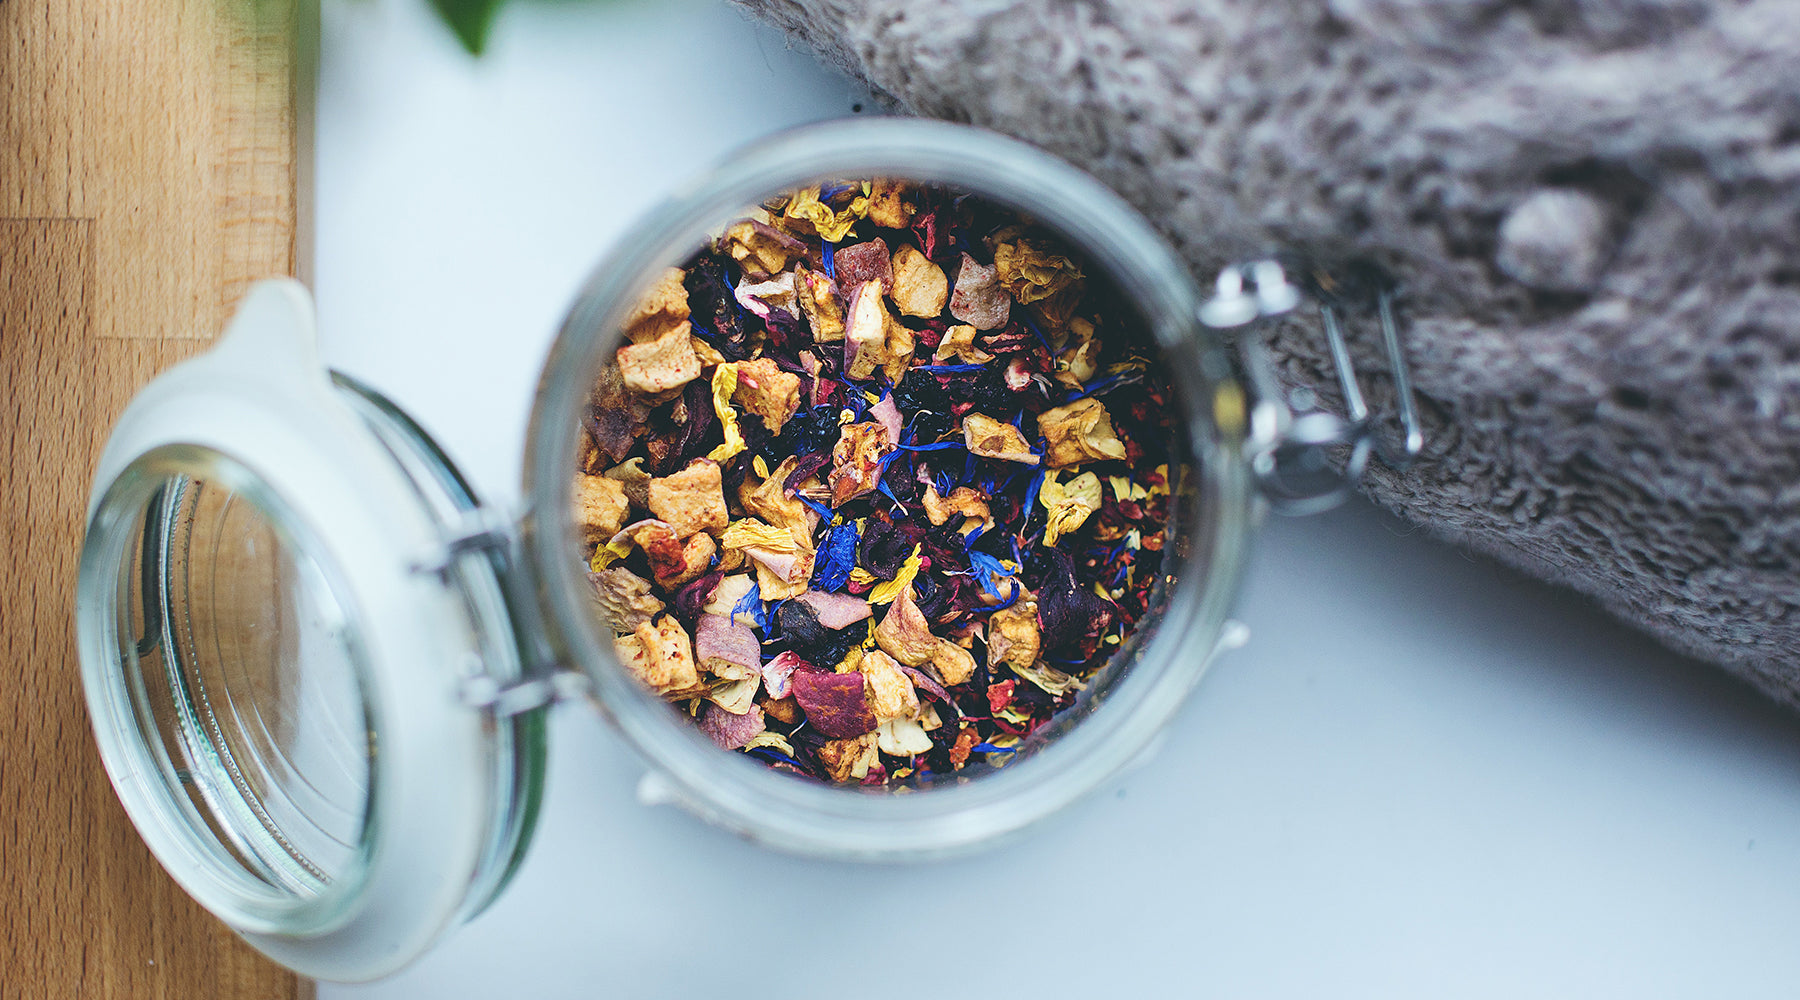
If you're wondering what to do with your old bouquet of flowers, you've come to the right place! Here’s your chance to make what was once old, new again. DIY-ing potpourri has never been easier, pr...
Read more
A Guide to Having the Perfect Registration of Marriage (ROM) in Malaysia
The only thing more important than your wedding day is your ROM day, a.k.a. your registration of marriage. Regardless of where you decide to do it, you ROM doesn’t have to be something you have to ...
Read moreMake someone's day
Send the perfect gift


Leave a comment
This site is protected by reCAPTCHA and the Google Privacy Policy and Terms of Service apply.